Saturday 24 December 2016

Merry Christmas

This is our first Christmas as a family of three so it's rather special. When I think how life was this time last year, my mind boggles.

No we don't have a star on our tree,
it's a model of the space craft Philae that landed on a comet.
We are cool that way.

This time last year, I was extremely pregnant, 38 weeks exactly on Christmas Eve. I will never forget that as my husband and I spent most of Christmas Eve in hospital wondering if I was going to need an early induction. I was being tested for a nasty condition which only goes away after birth and was incredibly uncomfortable. Thankfully they all came out negative, and we were able to spend Christmas Day together and at home, and I had to wait out my discomfort for another three weeks before Baby A made his appearance.

This year we have a near one year old tearing up the house. Life is hectic and busy and noisy, but never has it been so fun and loving and exciting. Even though I know Baby A won't remember any of this, I have been super excited for his first Christmas, and so has his daddy.

tree skirt
The tree skirt I sewed by hand back when I had free time!
So Merry Christmas to all.


Thursday 15 December 2016

Christmas Baby Dilemmas

This Christmas will be Baby A's first Christmas, and while that is very exciting, it is throwing up lots of new, little dilemmas that never occurred to me before I had children.


The Tree

Our living room isn't very big - none of our rooms are. Our house is the opposite of open plan. Generally, we quite like it that way since we enjoy not having cooking smells in the living room or hearing the TV while in the dining room. But it's always been a squeeze to fit our not enormous Christmas tree in the living room. And this year we have the added problem of also fitting in a fire guard, a play pen, lots of toys and a very mobile, inquisitive child who does not yet understand the word 'danger'. I am pretty sure he will try to pull himself up on the tree, if not climb it. Tinsel and baubles will be stolen, played with, eaten, hidden. I was pondering not putting one up this year, but I really would like to. I'm just anticipating playing tree police for much of the festive season.

Presents

Call me Scrooge, but I don't see the point in giving loads of presents to an 11 month old. He doesn't know what Christmas is, he won't remember it, and he'll probably be far more interested in the paper and empty boxes than any presents themselves. Plus as mentioned, we don't have an enormous house. I'm very grateful for any gifts he may receive from doting grandparents, but I'm also wondering where on earth we're going to store all this stuff. I've become depressingly practical! So with all that in mind, I haven't actually bought Baby A anything for Christmas. Mean Mummy! He won't be totally ignored on Christmas Day though. I am knitting him a cuddly toy so we have something to give him. Partly because I would like to have something with his name on under our tree and something I can say was his 'first Christmas present', but mostly because I've enjoyed learning to knit it. Everyone is happy!


I might have to make this now.
The Christmas Show

Baby A attends nursery one day a week. It is attached to a primary school and every child, including the ones in nursery, have been invited to participate in the school's Christmas Show. At 11 months old, I'm not quite sure what Baby A would be doing, since he cannot be trusted to even sit in the same spot for more than 2 seconds. But it doesn't matter because the show isn't happening on his nursery day and I don't have any spare holidays left to take an afternoon off work to watch him be held by someone else on stage. I would quite like to, but it seems somewhat ridiculous when he's still so young and oblivious. The only thing that saddens me is he would have been dressed as a Christmas pudding. I'm tempted to make my own Christmas pudding outfit for him, just because it would have been so cute! In fact here is a tutorial for a Christmas pudding hat because why not?


Christmas Cards

I have a relatively short Christmas card list usually. I send them to close family and the odd friend that lives far away but who I correspond with regularly. It hasn't changed in years. I definitely know everyone on my list. But this year, nursery sent home a list of all the children in Baby A's room, as well as all the staff. There's only 15 or so children in his age range as it's a small place, but I think I am supposed to do Christmas cards for them all, even though I don't have a clue who most of them are. And of course neither does Baby A, being 11 months old and all. At the moment he is far more interested in porridge than other children. Does everyone join in with this? Will I be judged for not participating? Will I forever be referred to as the Scrooge mother? I didn't expect all this so soon! I guess this is good practice for when he attends actual school. I will be a Christmas card pro by then (she hopes).

Friday 2 December 2016

Last Order Dates Before Christmas

Just a reminder that if that special hand drawn baby onesie is needed by Christmas, you'd best hurry up! Here are my last order dates if you want to get your onesie by Christmas.


Western Europe   Wednesday 9th December

USA & Canada    Thursday 10th December

UK                        Thursday 15th December


And if you miss these, I will still try to get your onesie posted as soon as possible, but it might become a New Year present.


Wednesday 30 November 2016

Foxes

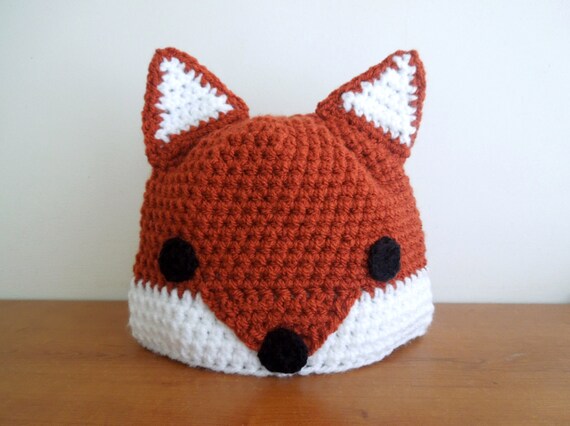
Apparently foxes are cool. I've always liked fox designs, but looking at what's in the shops, it seems the world has finally come around to my way of thinking. Well for this season at least. It wouldn't matter if foxes were cool or not, it was only a matter of time before I got around to designing a hand drawn foxy onesie for Baby A.


Of course I added some swirls and stars since I think most things in life 
would be improved with added swirls and stars.


Lots of foxy friends with even more on the back. I don't think Baby A much cares just yet,
but looking at them makes me smile.

Sunday 27 November 2016

Get Fruity

Now Baby A is over ten months old, we are well into weaning. It's going pretty well so far. It turns out he is totally NOT an advocate of baby lead weaning, not when there is a mummy present who will spoon feed him with very little effort on his part. And despite putting anything and everything in his mouth when we are not at the dinner table, he seems oddly reluctant to do finger food himself. Strange! But if someone else puts the effort in to feed him, he will attack almost everything with gusto. We've tried fruit and veg, fish and meat, bread, porridge (so much porridge), yogurt, cheese and all sorts of things. So all in all I'm calling it good progress so far.

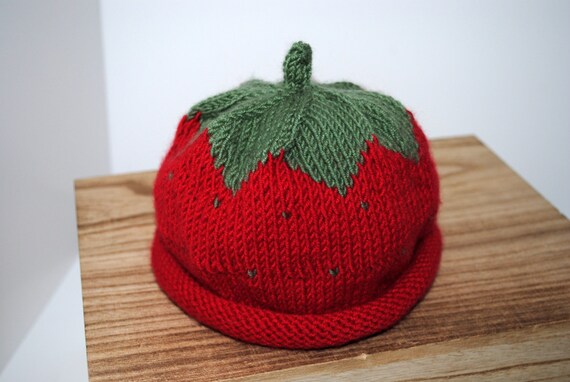
After porridge, I think Baby A's all time favourite foods are fruit. Fruity porridge is practically Nirvana for him. My latest onesie design is fruit themed inspired by Baby A's love of all things fruity.

fruit baby onesie


fruit onesie

I have a craving for pineapples now...

Friday 4 November 2016

I know it's only November but...

I am old-fashioned when it comes to Christmas. I don't really want to hear mention of it until December, let alone see any decorations or hear any carols. It somehow makes it less special to me the longer it goes on for. So I apologise in advance for bringing up the C word in early November!

That being said, I've found if I want to do any seasonal crafty things, I have to get them done early. Not only do these things always take longer than you'd imagine, but if they're going to be posted around the world (and here's hoping they are!) you need to get your Christmas shopping done in plenty of time to avoid disappointment.

So here are the latest festive offerings from Hand Drawn Baby Onesies:

Christmas holly onesie

Christmas onesie

A cute holly design with swirls and dots.


Christmas onesie

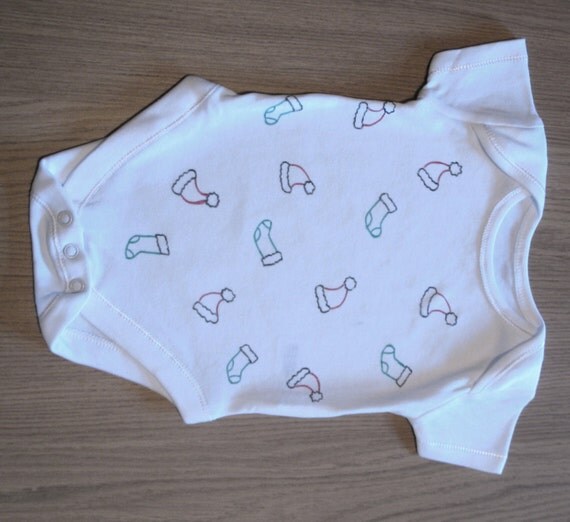
Christmas stocking onesie

Santa hats and green stockings.

I purposefully designed these so they could be for boys and girls.

I'm very happy with the designs, but annoyed with the photos. I took them in the afternoon and really I should have taken them in the morning. November light is just to weak here in the afternoon. Perhaps I should sort out my Christmas designs in July next year? 


Friday 28 October 2016

Silly hat

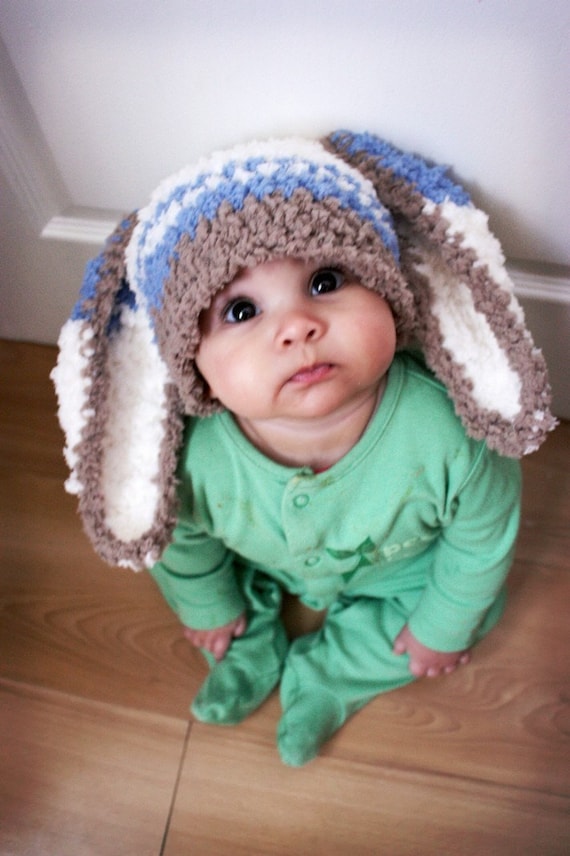
One of the best things about the onset of Winter is the abundant choice of silly hats we get to dress our babies in. Although there were many to choose from in the shops, I knitted one of my own. This is the first hat I have knitted that actually looked halfway decent (and fit him - he has a huge head!).


I had to go for an over-sized pompom. It's not really a silly hat otherwise, is it? And I used magic, changing colour wool, which I would recommend to any novice knitter. It makes you look a lot cleverer than you actually are. Baby A is not so impressed with his new accessory, but tough luck boy. It's cold outside and you're wearing your silly, hand-knitted hat.

Here are some amazing baby hats from some much better knitters than I you can find on Etsy..

CraftyCornishMaids

BabaMoon
HickoryKnitsAndBits

thelittleclothshop


Tuesday 25 October 2016

A new stage of life.

I write here today, for once not distracted by a giggling/grumpy/crying/playing child. All my spelling and grammar mistakes are my own fault on this occasion. Because the young man is today at nursery for the entire day, and I am at home, for the ENTIRE DAY. I start back part-time at work in a couple of weeks, but we wanted to get him settled into nursery before then. So here I find myself, with no baby distraction, able to actually do what I fancy (sort of). For the first time in months. 

I'm not quite sure how I feel about it. I thought I would be dreadfully sad, dropping him off at nursery, saying goodbye to his cute, little face, walking back to the car on my own, with perhaps a little tear in my eye, sans pushchair, sans baby, sans everything. That's what you read about in mummy blogs so often. Being apart from your baby for the first time is a bit of a trauma, isn't it?

But actually, no, it wasn't like that at all. He started to play straight away. He loves the staff there. He doesn't understand goodbye or even waving, and didn't seem to care at all when I was leaving. And as I walked away, on my own for the first time in months, I admit it felt strange. But it didn't feel sad. I was able to get in my car and set off immediately without wrestling any equipment/small people into the vehicle and checking everything 15 times. No-one started to cry when I had to stop at traffic lights. When I got home, I made it into the house in one trip, in 30 seconds flat.

Once home, I got the laundry hung out without anyone crying. I made lots of stewed apples and fruit purée. I answered a load of emails I've been meaning to answer for weeks. I had a hot lunch, and a hot bath. I even did a bit of knitting and didn't mess it up because it turns out I can count when not distracted. I did lots of little jobs and I did them in record time. And I watched a bit of crap telly, because when am I ever going to get a couple of hours like this to myself ever again?

All of a sudden I've rediscovered that I can be productive. I thought perhaps I was never going to get anything done efficiently ever again, but no! It was the small one slowing things down all along! To be honest, I feel like I have rediscovered a little part of myself that had gotten lost this past year. And I'm not dreading going back to work like I was. Firstly, I don't think I'll be distraught from being separated as I once imagined I would be. When I was pregnant, the thought alone would bring me to tears. Secondly, I was worried I had lost the ability to do my job, frazzled as I feel much of the time. Now I feel as though, actually, I am still a motivated and able person, as well as being someone's mum.

But I am looking forward to picking the little man up. If his settling-in sessions are anything to go by, he won't care in the slightest when I arrive. He'll be too busy playing and having a good time. And while do miss his cute, little face, I am perfectly happy on my own for the day. I won't get too many of these days, so I'm enjoying it while it lasts. 

Thursday 6 October 2016

Gorgeous wooden stuff at Jigsaw Wooden Products

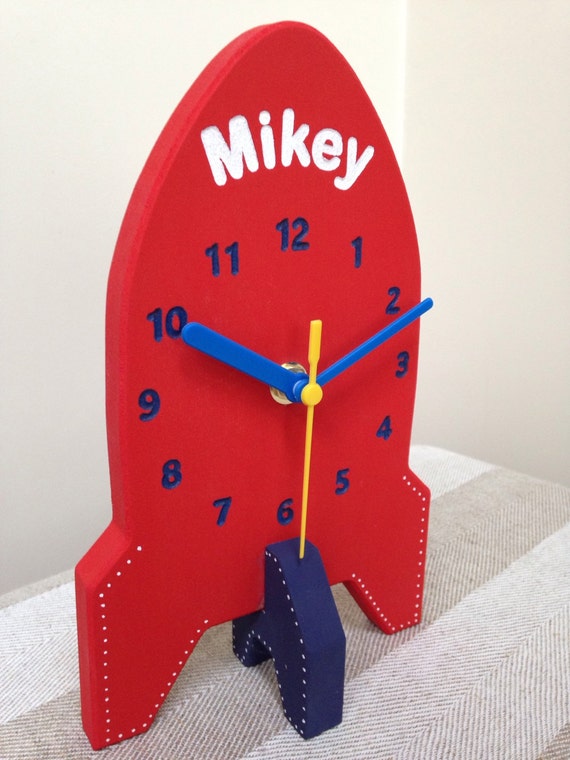
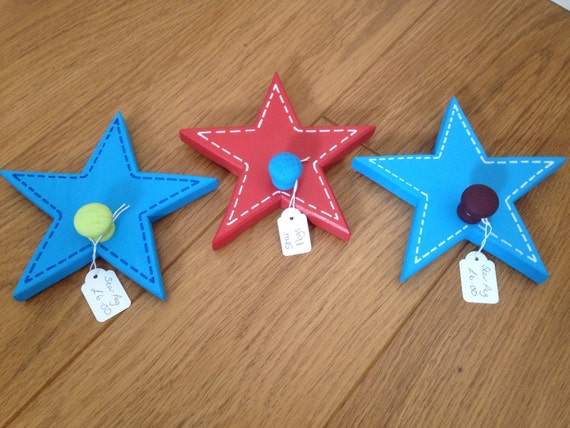
I needed some finishing touches for Baby A's room. We went with a fairly neutral yellow wall colour and green carpet, with lots of red touches to make it a bit more personal. So I was looking for some kind of red clock or pegs, rocket themed would be a bonus. At times like this I turn to Etsy of course.

And I found JigsawWoodenProducts. This is what first drew me in, as it was spot-on perfect for what we wanted.

You can have any colour combination and I didn't have a name on mine. 
I did stick with the red, since it was prefect.

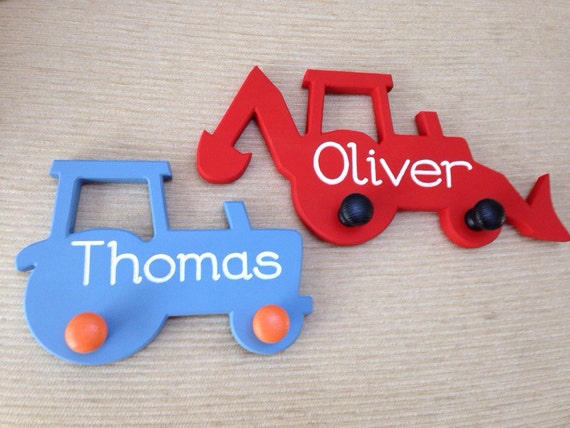
Then I got clicking all over this shop (dangerous) and found these pegs.

It's not space themed, but we also have quite a large agricultural theme going in this house (so many tractor toys) so these were a must have too. Again I didn't have a name on mine, and had them both red with yellow knobs.
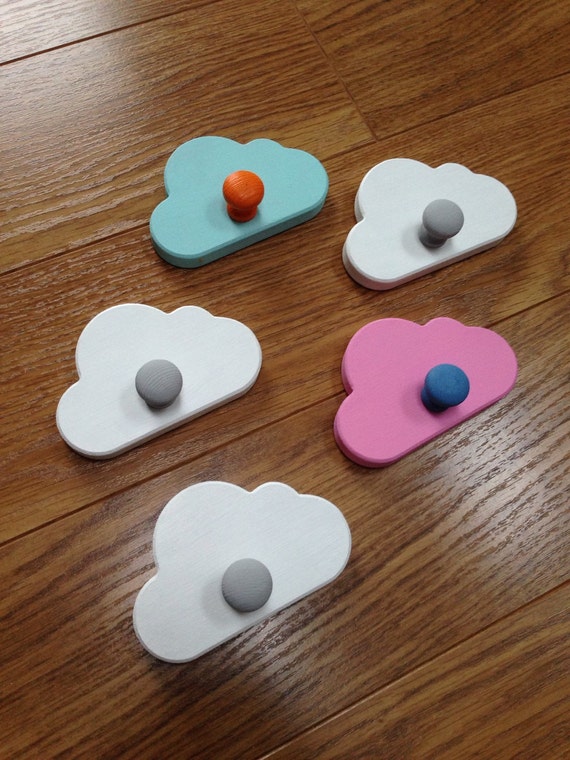
They all arrived very quickly and well-packaged. They look absolutely gorgeous and finish off Baby A's room nicely. If I need any more funky wooden accessories, I know where to go. I also love these, and am wondering if I can come up with a reasonable excuse to buy them. Can you have too many pegs?


Sunday 2 October 2016

Red Baby Quilt is Finished

I needed something to do with all the leftover fabric from Andrew's bedroom, so of course I made a patchwork quilt. There wasn't enough for a full size quilt, so I made a baby one, which was as big as I had enough fabric to do. The theme is red and yellow.


The fabric from his curtains and bunting all make an appearance. I had to buy some poly-cotton for the backing fabric as I didn't have a big enough piece, but that was about £4 a metre, so all in all this quilt was a bargain.


I'm pleased with how it looks in the room, really adds a splash of colour. And even better, this is one of the only baby blankets I have that he doesn't seem to be able to entangle himself in.


Wednesday 14 September 2016

The nursery continues

We've pretty much finished the baby's room (he's only 8 months old, it's about time) but I add the odd thing here and there still. I've put a couple of handmade wall hangings up. I made these both a couple of years ago, before we even thought about having babies, just because I enjoy sewing patchwork. But we decided they would fit in well with the baby's room.

The first one is an 'artistic interpretation' of our house. 


I'm super pleased with the button flowers in the pots.

The second is a space themed hanging I made for my husband who loves all things science. I needed something to do with all our space mission patches, so here is an Apollo rocket about to lift off.


It hangs vertically, I've no idea why I can't get this to upload the right way!


The most famous patch on my hanging.

Now the boy has something interesting to look at instead of bare yellow walls.

Friday 26 August 2016

A is for...Awesome!

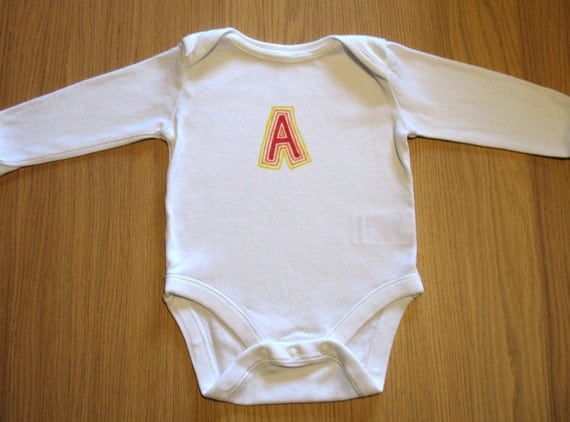
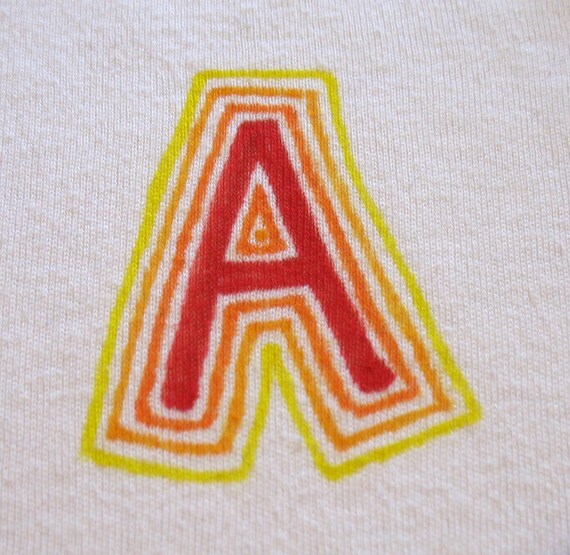
I've been wanting to do a letter design for my hand drawn onesies for a while. I've finally come up with a design I'm happy with. Of course I did the letter A first, partly because it's first alphabetically, but mostly because everyone in this house's name begins with an A. No, it wasn't done on purpose (meaning I didn't specifically search for A names because we're both A names), yes, I do constantly muddle up my son and husband's names. Such is life.

Here is my first effort at lettering:

letter onesie

letter onesie

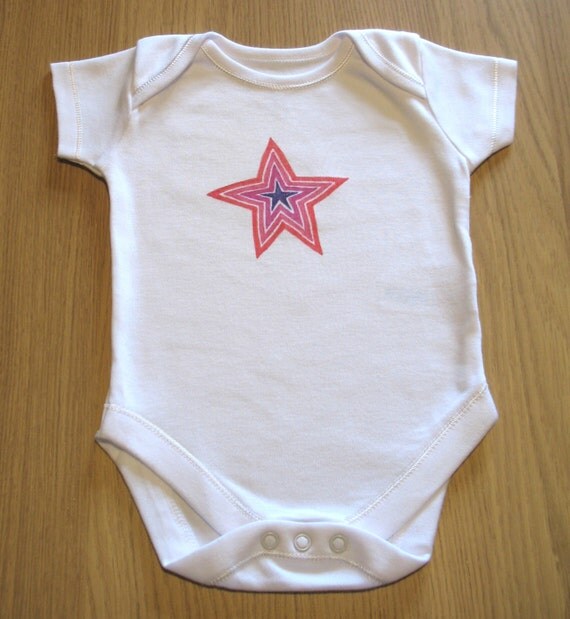
It was inspired by my star designs I so enjoy drawing. 

I've allowed for any letter and any colour combination in my Etsy shop
I'm looking forward to seeing what different versions we can come up with.


Tuesday 23 August 2016

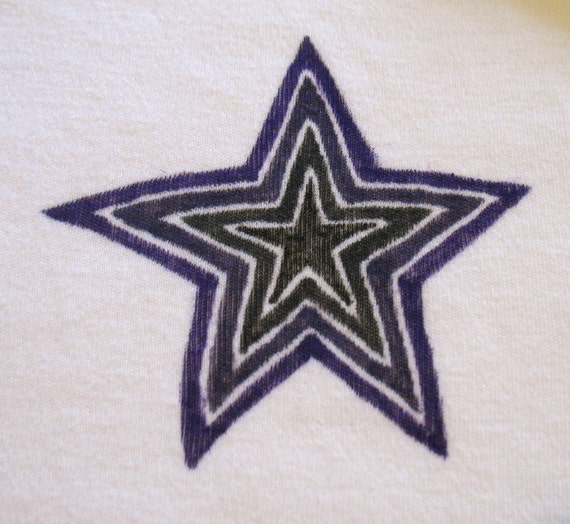
Black Star

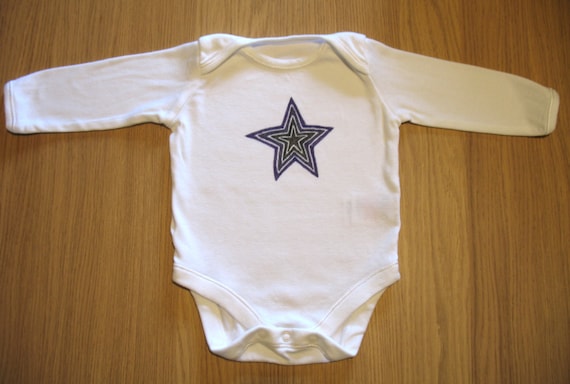
I was a bit of a rocker (or so I wished) in my youth. Black, purple and red were definitely in fashion. I did love other colours, but those seemed to reoccur quite often. It appears I haven't quite grown out of my gothic phase, judging by my latest hand drawn onesie.

black star


black star onesie

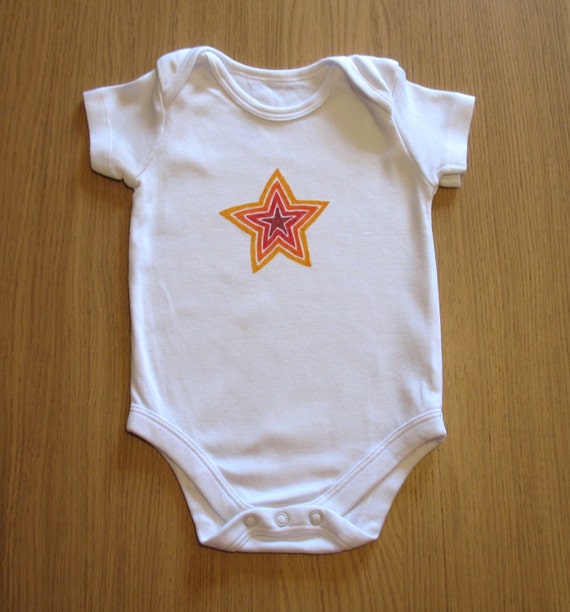
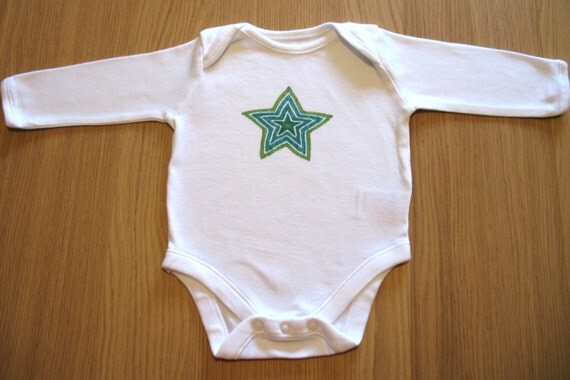
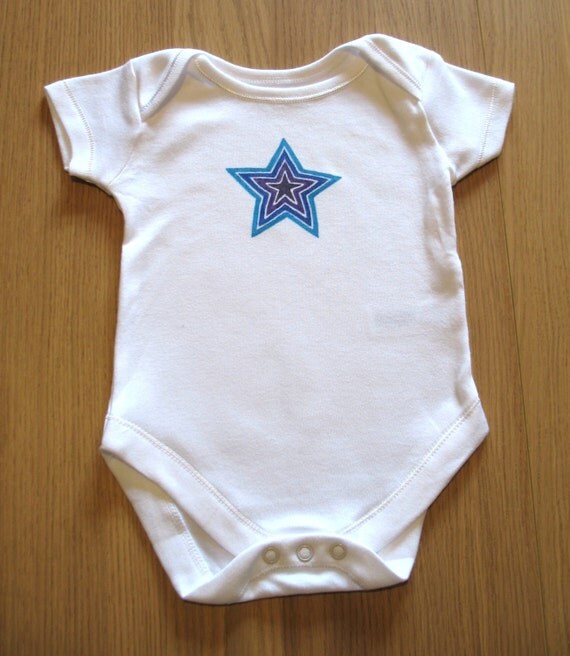
I'm rather loving the black and purple star onesie. I've accidentally started a starry range.


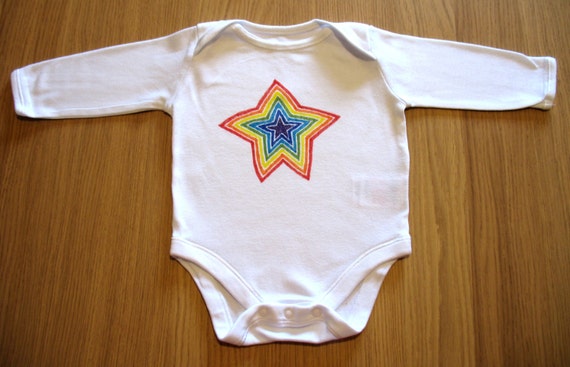
The rainbow one is still my favourite just because I like ALL the colours, but I think baby Andrew enjoyed wearing all of them. They're all too small for him now (how did that happen so quickly?!). Oh well, I shall have to draw him some more.


Tuesday 2 August 2016

Nursery Bunting

Baby Andrew's bedroom is finally finished (6 months after he was born, better late than never). I had fun making some of the finishing touches like the curtains and bunting. The room itself is quite neutral as I don't like to assign colours based on gender, so I went for a little more colour in the accessories. Here is the finished bunting.

I really hope the boy is into rockets and space and engineering in general as that is where the room seems to have gone! We got given a rocket cushion by my mother and I thought it was so cute that's what I based the bunting on.


There are loads of how to make bunting tutorials out there so I won't add another. Most of them tell you to carefully cut around a paper template, which I am too lazy to do! I just draw the triangles on to the fabric using a ruler and dissolvable ink pen, and cut the fabric that way. The only big tip I would insist on is mark your ribbon at regular intervals, unless you want the flags to have random gaps between them. Trust me, it is almost impossible to judge this by eye! I have made some wonky bunting in my time and found out the hard way.


I'm also making a patchwork blanket with the remnants of all the fabric I used for the curtains and bunting. It will be as big as the remnant fabric allows, I'm not spending money on new fabric for it. Hopefully I will get that finished before another 6 months flies by! Here's a sneaky peak.


Saturday 30 July 2016

Making the Nursery Curtains

I couldn't find any curtains for baby Andrew's room that I particularly liked, so I decided to buy some cool fabric and make some myself. I ended up using Spoonflower, a fabric site I have wasted many hours browsing with no purpose. So it was nice to finally have a cool excuse to buy something a bit quirky.

Here's the design I went for.


It's called Robot Circuit Board (red) by Robyriker. I liked that it's subtle but with a nerdy pattern if you look closely enough. My husband is an electrical engineer, so the circuit design appealed to him too.

Since Spoonflower is an American site I was expecting postage to be horrendously expensive, but it turns out the ship from Germany too, so it's very reasonable for most of Europe too. The fabric itself costs $17.50/yard for basic cotton, which would have been reasonable had I bought it before the UK voted to leave the EU and the pound plummeted. As it was, my exchange rate was rubbish. Oh well, silly me!

This was my first time making curtains and I basically winged it. I also wanted black out fabric since it's going in the child's room and we all want as much sleep as we can get. My made-up, probably wrong method of curtain making, was to cut the black out fabric to the exact size I wanted, then to fold the curtain fabric over that (double folding it so the raw edge is hidden. That way I could be sure both curtains would be the correct size so long as I cut the black out fabric correctly. It more or less worked! Pinning the fabrics together was the worst part since my table wasn't big enough and I lack the floor space to do it without blocking all the doors. I was also looking after baby Andrew alone, so this took ALL DAY!

Here are the finished curtains. I'm pretty pleased with how they turned out for a first attempt.


I also made a simple orange curtain for the bottom half of the window as passers-by have a tendency to stare in! 

Monday 25 July 2016

My Dear Jane Quilt

A few years ago I discovered the joy that is patchwork and quilting. Since I always like to run before I can walk, I decided as my second ever quilt to go for the mother of them all, a Baby Jane quilt, based on a Dear Jane quilt. 

green blue baby jane quilt

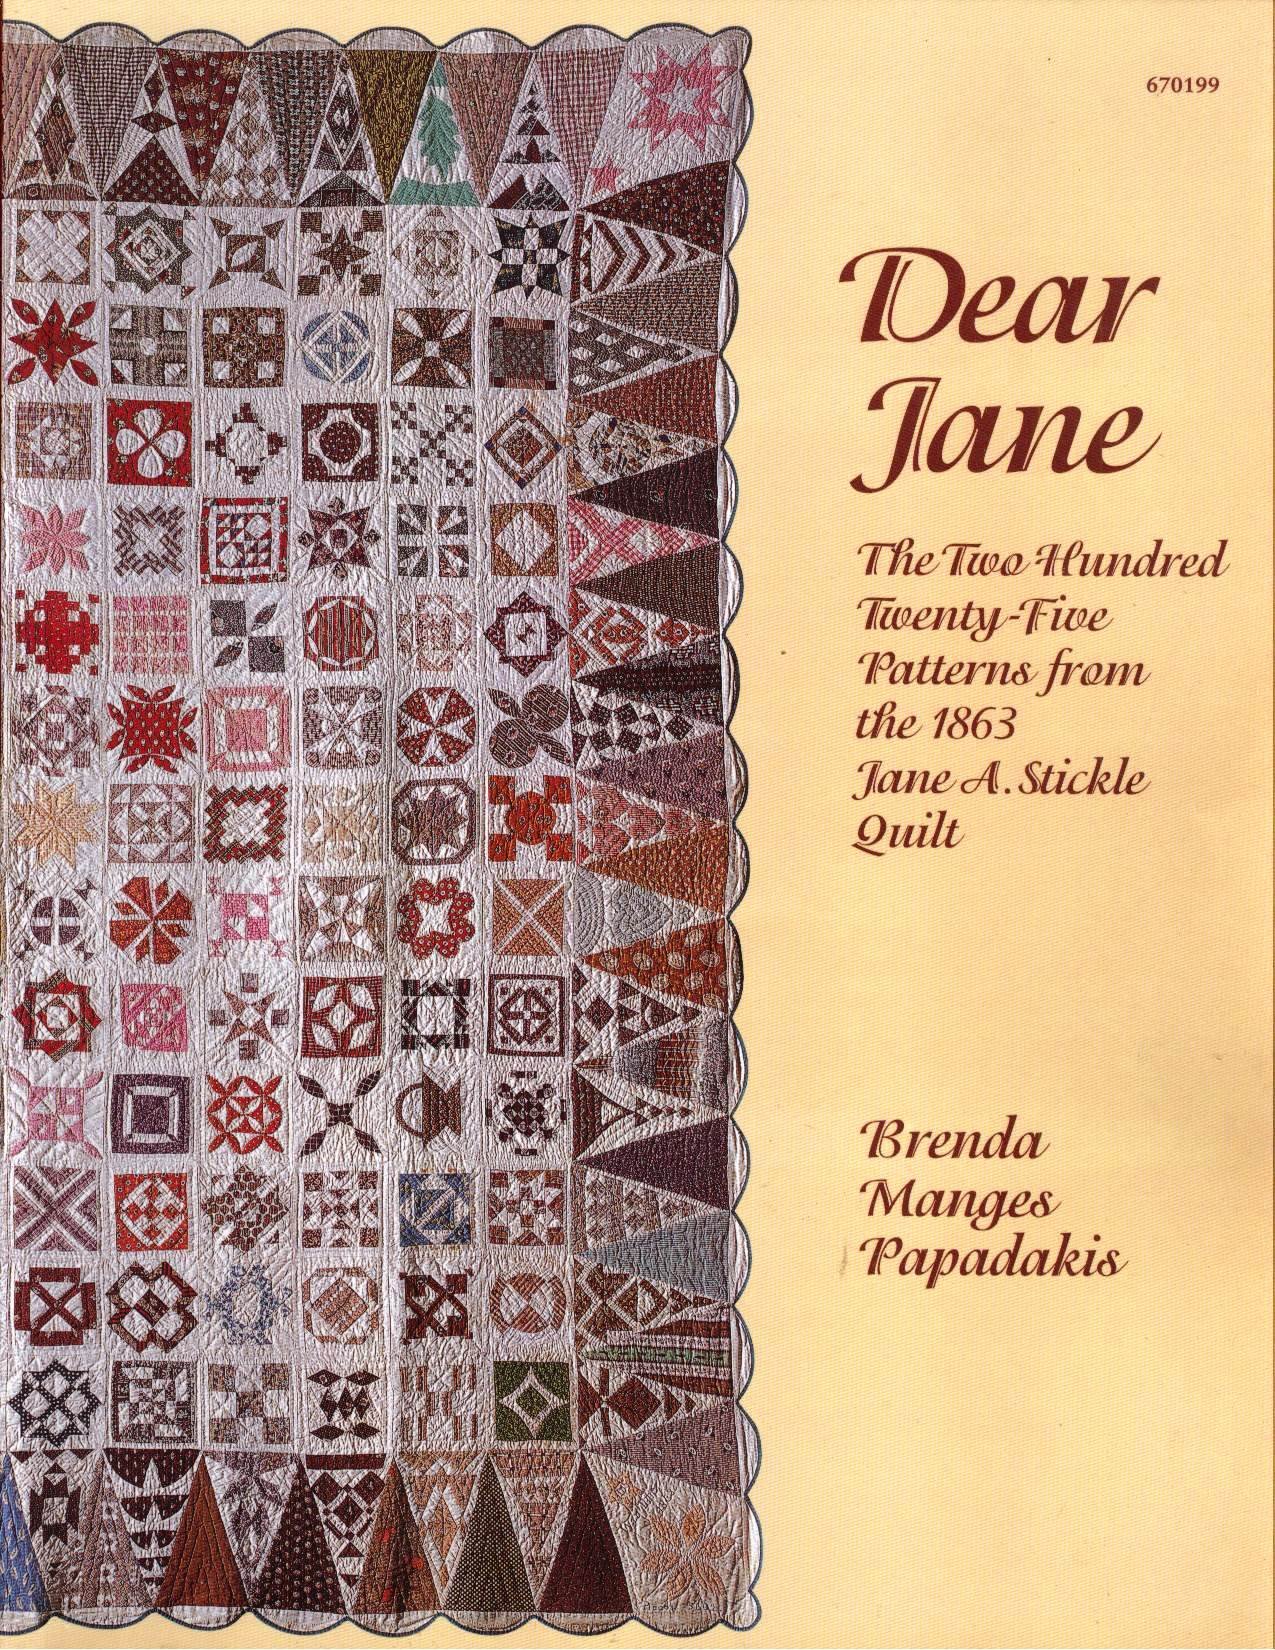
A Baby Jane quilt is based on the blocks from the original Dear Jane quilt, a quilt made by Jane A. Stickle in 1863. It consists of 225 individual patterns - each square and border triangle is different. 

dear jane
The original Dear Jane quilt

Now I cheated, I admit. I didn't do all the blocks in a proper Dear Jane, and I left all the triangular blocks blank. But I certainly did well over half of the square ones, and for a complete novice, I'm quite pleased with it myself, if I do say so. This was my second ever quilt and far more complicated than anything I'd ever attempted previously. It took eight months to complete start to finish. Good thing I didn't have a baby back then or no doubt it would have been a lot longer.


baby jane quilt
It will fit the bed it's intended for,
which is a King whereas this is only a standard double.
One day I hope to complete an entire Baby Jane quilt using all the patterns. If you want to know all these patterns, I would recommend the Dear Jane book by Brenda Manges Papadakis, which is what I used. It's well worth the money and you could use the patterns to make hundreds of different patchwork designs.


dear jane book

Friday 22 July 2016

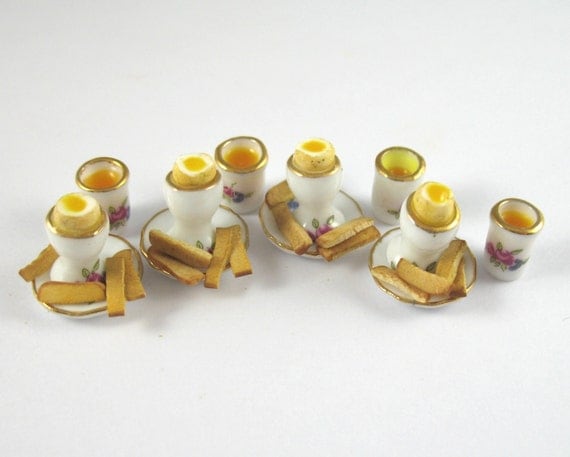
Miniature Egg and Soldiers Tutorial

If you enjoyed my miniature liquorice tutorial using polymer clay, hopefully you'll enjoy this one too. It's slightly more advanced, requiring more specialised supplies like chalk pastels and oil paint, but it's a fun, little project that yields realistic results for your doll house. As usual, these doll house miniature projects are not intended for young children!

1/12th Egg and Soldier Tutorial

Here is the tutorial I made a while ago showing how to make 1/12th scale egg and soldiers.


You will need:
White polymer clay
Transparent polymer clay
Medium brown polymer clay
Liquid polymer clay
Chalk pastels in ochre tones
Sharp blade
Pin
Soft bristled brush
Ceramic tile to work on
Yellow/orange oil paint
Sandpaper
Ceramic 12th scale egg cup and saucer
Gloss varnish
Matt varnish
You may need superglue.

1.       Before you begin, you need to ensure your work area and hands are clean, because unbaked polymer clay is a fluff magnet. I like to work on a large, blank ceramic tile, as this can go straight in the oven when it is time to bake the clay, without having to move your work and risk unwanted fingerprints. It helps to use a white tile, as fluff shows up better on it.

2.       Let’s begin with the eggs. Condition some white clay by rolling it in your hands until it is easily malleable. Unconditioned clay can crumble, and make it harder to work with later on. Roll your white clay into a sausage about 0.5cm in diameter, and then cut into sections about 0.5cm long. Roll each section into an egg shape, by applying more pressure at one end than the other. Once you get the hang of it, it’s satisfyingly quick and easy! Don’t worry if there are little bits of fluff on your egg’s surface, the next step will cover up all but the largest imperfections.
3.       Using your blade, scrape a small amount of your chalk pastels to form dust. I use a mostly ochre and a little bit of reddish brown, but it really depends how light or dark you want your eggs to be. I wouldn’t recommend making it too light, or it will be difficult to see the contrast of the shell against egg white later on. Brush your egg gently with your soft bristled brush until you’re happy with its appearance. 

4.       Place your egg in the ceramic egg cup, as this will hold it in place and let you see how it’ll look in the end. With your blade (which you’ve carefully wiped clean of pastel dust of course), roughly cut off the top of your egg, so that the white is showing. It looks better if it is several small cuts rather than just one sweep, as egg shells never crack uniformly. Using your pin head, create a small dimple of a well in the eggwhite place, this is where your yolk will go.

5.       To make the egg yolk, pour a very small amount of liquid polymer clay on to your work tile. Next to it, mix up some yellow and orange oil paint until you get a yolk colour. This only needs to be literally a couple of drops’ worth. Mix this yolk coloured oil paint in with your liquid polymer clay, being careful not to add too much. If your liquid polymer clay covers a penny, you only need a ball bearing of paint to tint it.

6.       Using your pin, carefully add the yolk one drip at a time. You won’t need much! Put your egg to one side, it’s finished for now. 

7.       To make the toast, condition all your clay first, then mix 2/3 white polymer clay with 1/3 translucent polymer clay. Add the medium brown polymer clay a pinch at a time until you’re happy with the colour you’ve achieved. I always add the darkest colour only a little at a time, as you can’t take it out once it’s in and it nearly always changes the tone more than I imagined it would. The finished bread mix should look like untoasted bread.

8.       Using your fingers shape your bread mix into a long square sausage. It doesn’t matter how long it is, but the height and width should be approximately 1x1cm. The corners should remain rounded, so use your fingers, rather than a blade.


9.       Using your blade, scrape yet more of your chalk pastels to form dust, but this time it needs to be darker as this will give you your crust colour. I use dark brown and a little reddish brown. Apply with your soft bristled brush.


10.   Slice the bread using your clean blade into thin slices of no more than 1mm thick and lay all the slices flat. Don’t worry about the end slices, no-one likes the end slices!


11.   Lay all your slices flat. Now you need to add some texture and there are two ways of doing this. The easy way is to press sandpaper on the polymer clay. The long (but better) way is to use a pin to individually scratch out every single little piece of texture. I like to combine these techniques to get a good effect without losing my mind.

12.   Press a small piece of sandpaper on to each individual slice. Don’t press too hard or it will lose its shape, but you need to press hard enough that it leaves the texture behind.


13.   Then cut each slice into 4 strips to make soldiers. Using your pin, gently scratch and poke all the pale sides (not the crusts) of each soldier. Also use the pin on and sandpaper-textured parts which have been missed or look too uniform. This will take a while. 


14.   Create another pile of chalk pastel dust using your blade. This time it is to make your soldiers look toasted, so the colour depends on whether you like your soldiers hardly warmed or burnt to a crisp. I use ochre to dust the tops of the soldiers, then dark brown to highlight the edges and here and there. This dusting should really bring out the detail of the texture, so all that time spent prodding it with a pin will be worth it!

15.   Now bake all your eggs (still in the ceramic egg cups) and soldiers according to the polymer clay manufacturer’s instructions. Once done, allow to cool before handling, as the ceramic egg cups will hold on to their heat especially.

16.   To finish off the piece, add a dab of gloss varnish to the egg yolks so they really stand out. Use a thin coat of matt varnish for everything else. You shouldn’t be able to see it, but it helps to seal in all that chalk pastel dust and makes the piece more durable. Finally, you may need to glue the eggs into their egg cups, as polymer clay does not stick to shiny ceramic well. A small dab of superglue will do the job. I also used some of my leftover egg yolk mix to make orange juice as it’s the perfect colour for that. 

tutorial dollhouse miniature egg toast