Friday 26 August 2016

A is for...Awesome!

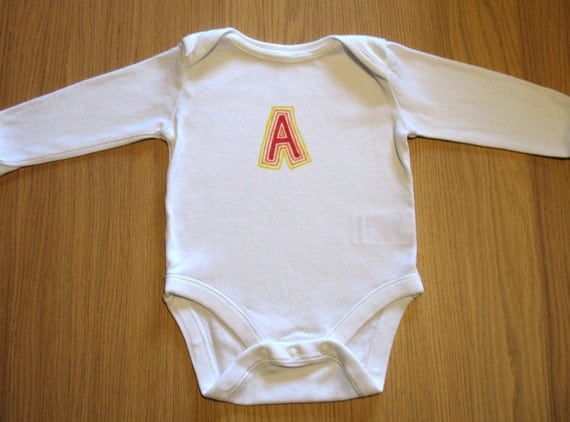
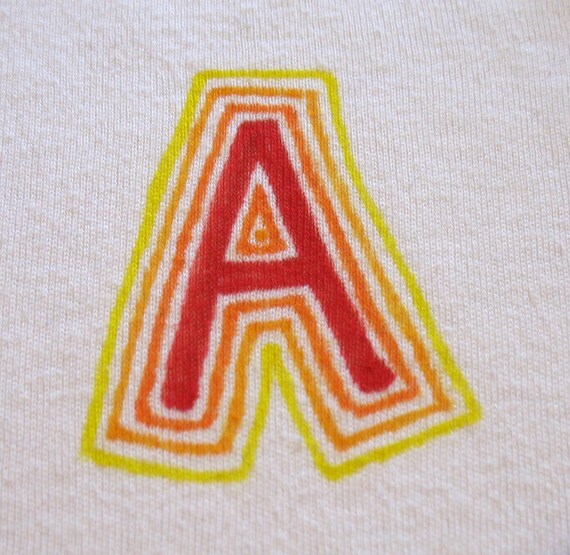
I've been wanting to do a letter design for my hand drawn onesies for a while. I've finally come up with a design I'm happy with. Of course I did the letter A first, partly because it's first alphabetically, but mostly because everyone in this house's name begins with an A. No, it wasn't done on purpose (meaning I didn't specifically search for A names because we're both A names), yes, I do constantly muddle up my son and husband's names. Such is life.

Here is my first effort at lettering:

letter onesie

letter onesie

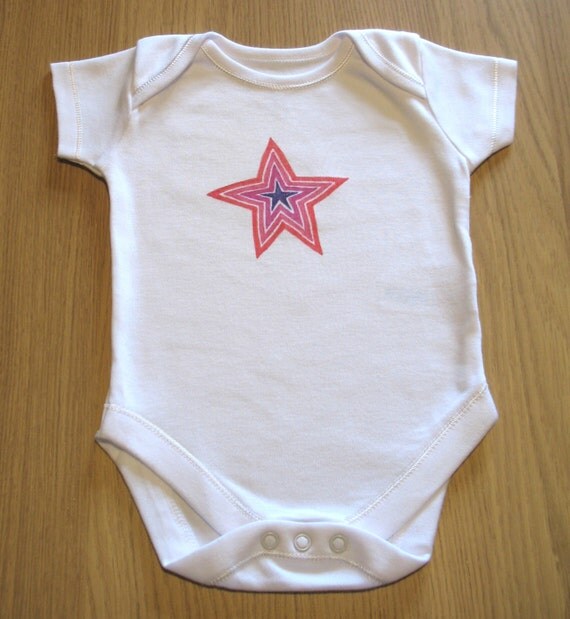
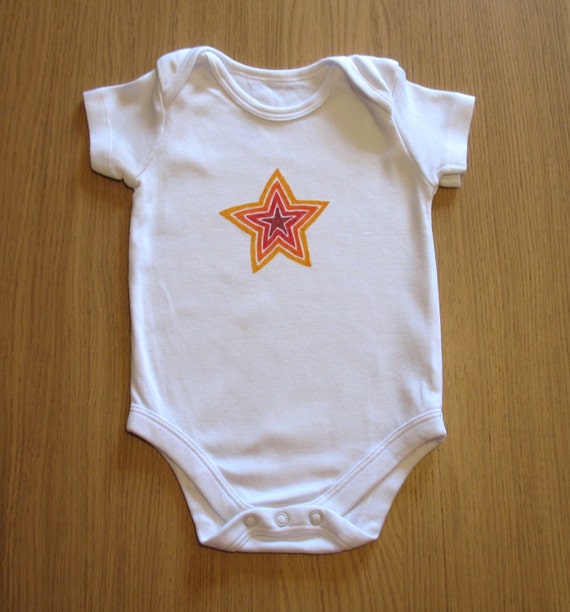
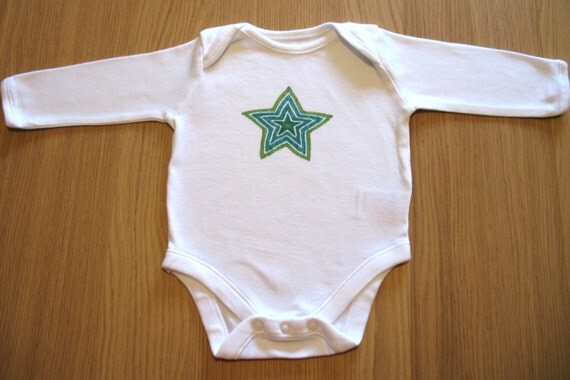
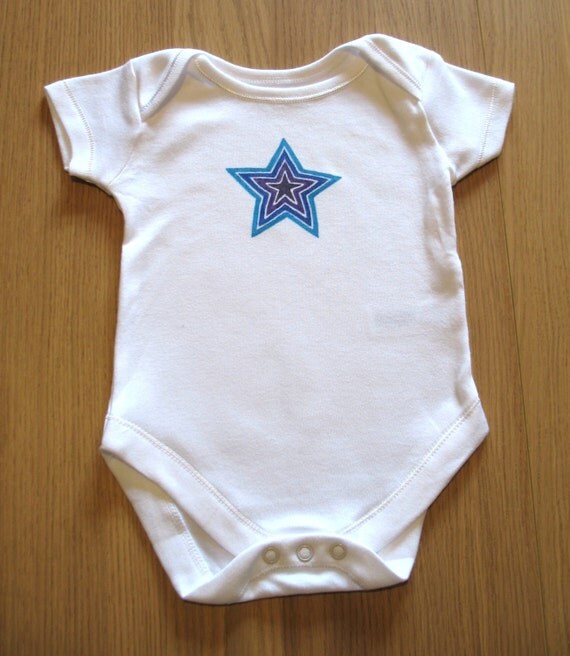
It was inspired by my star designs I so enjoy drawing. 

I've allowed for any letter and any colour combination in my Etsy shop
I'm looking forward to seeing what different versions we can come up with.


Tuesday 23 August 2016

Black Star

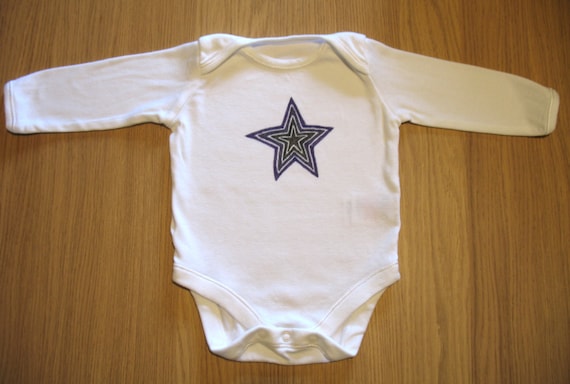
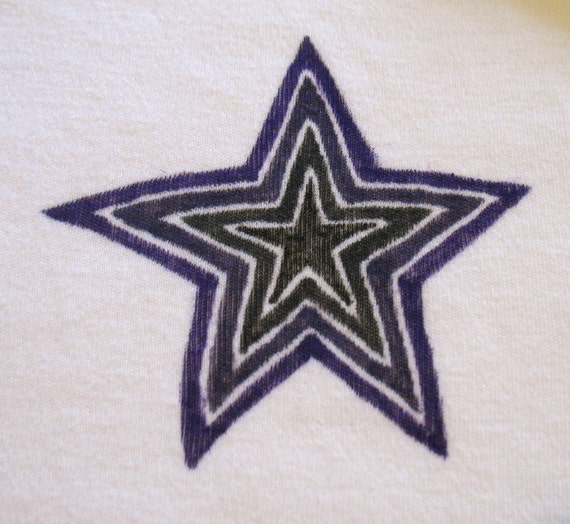
I was a bit of a rocker (or so I wished) in my youth. Black, purple and red were definitely in fashion. I did love other colours, but those seemed to reoccur quite often. It appears I haven't quite grown out of my gothic phase, judging by my latest hand drawn onesie.

black star


black star onesie

I'm rather loving the black and purple star onesie. I've accidentally started a starry range.


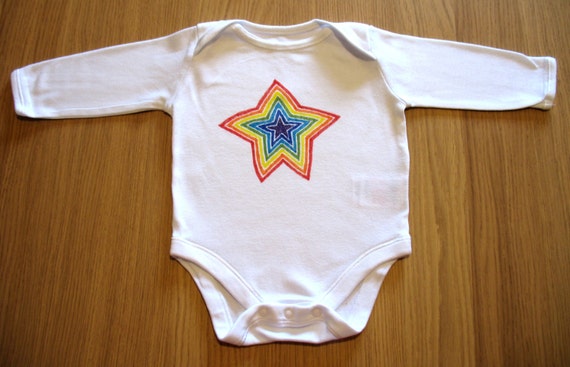
The rainbow one is still my favourite just because I like ALL the colours, but I think baby Andrew enjoyed wearing all of them. They're all too small for him now (how did that happen so quickly?!). Oh well, I shall have to draw him some more.


Tuesday 2 August 2016

Nursery Bunting

Baby Andrew's bedroom is finally finished (6 months after he was born, better late than never). I had fun making some of the finishing touches like the curtains and bunting. The room itself is quite neutral as I don't like to assign colours based on gender, so I went for a little more colour in the accessories. Here is the finished bunting.

I really hope the boy is into rockets and space and engineering in general as that is where the room seems to have gone! We got given a rocket cushion by my mother and I thought it was so cute that's what I based the bunting on.


There are loads of how to make bunting tutorials out there so I won't add another. Most of them tell you to carefully cut around a paper template, which I am too lazy to do! I just draw the triangles on to the fabric using a ruler and dissolvable ink pen, and cut the fabric that way. The only big tip I would insist on is mark your ribbon at regular intervals, unless you want the flags to have random gaps between them. Trust me, it is almost impossible to judge this by eye! I have made some wonky bunting in my time and found out the hard way.


I'm also making a patchwork blanket with the remnants of all the fabric I used for the curtains and bunting. It will be as big as the remnant fabric allows, I'm not spending money on new fabric for it. Hopefully I will get that finished before another 6 months flies by! Here's a sneaky peak.