Thursday 30 June 2016

You know you're tired when...

When you're pregnant, everyone tells you, sleep now while you still can! Sounds like good enough advice except that I couldn't sleep properly when I was pregnant either. I guess it was good practice for what was to come, but don't tell a pregnant woman that, it's rarely welcome!

by PrintsmadewithLOVE
Newborn sleep deprivation is not a very fun thing. Aside from the c-section recovery, I would say it was the hardest part of life with a new baby. My little bundle of joy woke for feeding usually every 1 and a half to two hours for the first couple of months of his life. And since I was feeding him expressed breast milk (a story for another day) for the first few weeks of his life, I would quite often miss one or two of my 'sleep slots' as they became known, because I had to pump breast milk. By the time I'd be done and cleaned up all the paraphernalia that entails, he'd be awake and hungry again!

Tiredness does funny things to a person. It's not even fair to call it tiredness really, it goes way beyond that. Add the lack of sleep and the recovering battered body together, and you end up doing some strange things. Here is a list of a few things that told me I needed a nap.

  • When bottle feeding, not noticing you've inserted the teat into one of your baby's many chin folds instead of his mouth for a good ten minutes. Baby was absolutely soaked but didn't seem to mind at all, funny lad.
  • Showering with your glasses on. And your socks on.
  • Relying on daytime TV to give you a clue which day of the week it is.
  • Wearing your knickers/nightie/t-shirt/almost anything inside out all day long. Every other day.
  • Having no idea if or when you took any of that vital medication they gave you when you left hospital. If it weren't for my husband (who turned into an excellent personal pharmacist), I would still be anaemic from my inability to remember my iron pills. Before I had children I never missed a pill.
  • Nearly putting the butter in the oven. And on a similar theme, trying to cook things in the freezer.
  • Trying to scoop your 5'11" husband up and put him in the cot, because you mistook him for the baby.

I'm sure there are more daft things I did in the depths of sleep deprivation, but I was too knackered to remember them.

I feel quite lucky in that at about 2 and a half months we had a sudden break through and he slept for 4 hours straight. 4 hours of uninterrupted sleep! I felt like superwoman. And at 3 and a half months he could do a 6 hour stretch. Now he more or less sleeps through if you count waking at 6am as sleeping through, which I'm pretty pleased about. Of course I've gone and jinxed it now, but I appreciate many new parents have it a lot worse than we did.

One last thing on babies and sleep. I would advise anyone never to say 'sleep when baby sleeps' to a new parent. It is the least useful piece of 'advice' ever. My usual response to that is, 'okay, I'll be sure to shower while the baby showers, or do the laundry while the baby does laundry, or sterilise bottles while the baby sterilises bottles.' No wait, that's not going to work is it? Rant over.

Sunday 26 June 2016

Miniature liquorice tutorial

A while ago I mentioned how I used to love making doll house miniature food. I made a few tutorials once upon a time. Here is the simplest one, great if you're new to playing with polymer clay. This is doll house food related, but you could always scale up to make food jewellery. Just be aware that these mini liquorice look so tasty and cute when finished that they are definitely not intended for children!


Liquorice Allsorts Tutorial


https://www.etsy.com/shop/littletimewasters?section_id=12733648&ref=shopsection_leftnav_5

You will need:

Black polymer clay
White polymer clay
Yellow polymer clay
Pink polymer clay (you'll probably need to mix white and pink to achieve the correct shade)
Mid brown polymer clay
Orange polymer clay
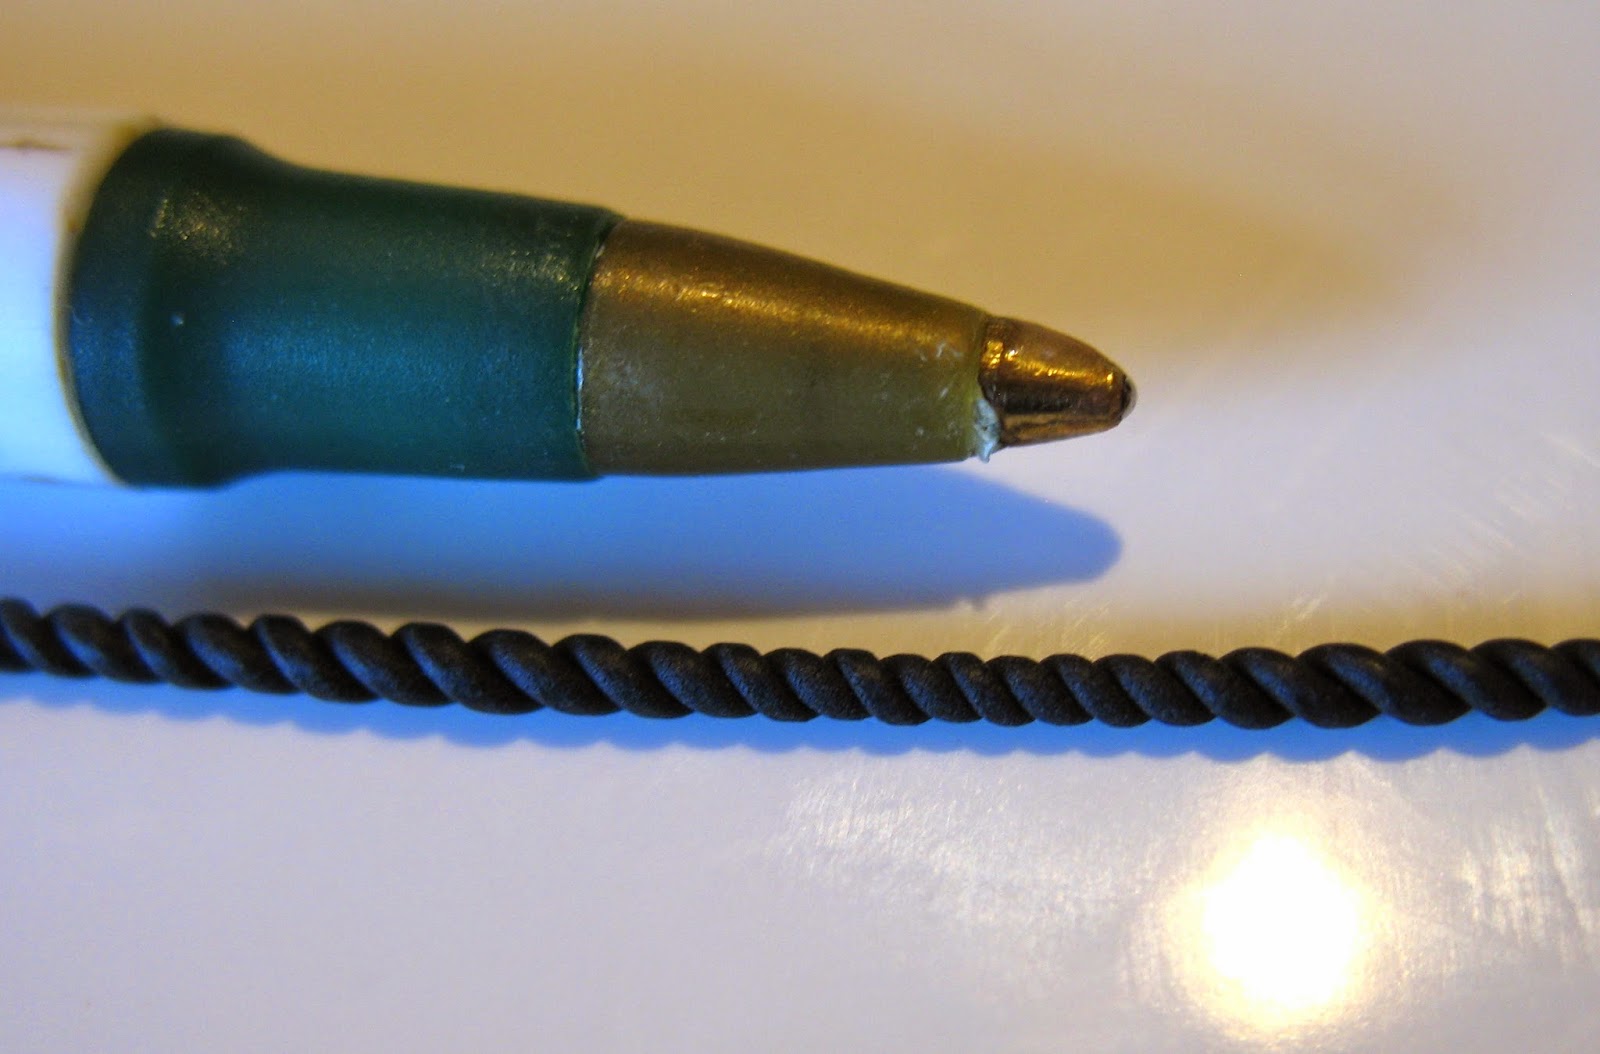
Rolling pin (I use an old pen!)
Sharp blade
Ceramic tile to work on
Oven


1.Before you begin, you need to ensure your work area and hands are clean, because unbaked polymer clay is a fluff magnet. I like to work on a large, blank ceramic tile, as this can go straight in the oven when it is time to bake the clay, without having to move your work and risk unwanted fingerprints. It helps to use a white tile, as fluff shows up better on it.


2. The clay needs to be conditioned to avoid it cracking later on. Do this by rolling it in the palms of your hands to put some heat into it so it becomes more malleable. My top tip for this tutorial is always start with the lightest colour first. If you start with the black clay, you will get black all over everything and turn everything grey. When you do handle colours which stain, such as black, dark pink and brown, be sure to wash your hands before handling lighter colours again.


3. Let's start with the round yellow and pink liquorice allsorts. For this you need to make a very simple cane. Start by rolling out a sausage of black polymer clay about 7mm in diameter. It only needs to be one or two inches long (this will be enough for squillions of miniature sweets). Then roll out a strip of the outer colour (pink or yellow). It needs to be at least as thick as your sausage was, and as wide as your sausage is long.


You always need much more of the outer colour (pink or yellow) than you'd think. Cut one end of your outer colour so it is even, and begin wrapping your black sausage. Once the two sides fully wrap the sausage, cut the other end of the outer colour so it is flat and lies flush. This way, it should be evenly thick all the way round, and you won't have any overlap.


 4. Slowly roll your completed liquorice cane thinner and thinner until it is the desired size I like my liquorice candy to be about 2mm in diameter. You need to roll as evenly as possible so the cane doesn't warp. I use just my two index fingertips, working from the middle outward and pressing only lightly. Don't roll too hard, as the cane can very quickly become unworkably thin. Don't worry about the ends being too thick or looking terrible, the ends of canes are always scrap. Keep the polymer clay though, it may come in useful for something else.


5. Your cane may become really long, so cut it in half every so often so it is easy to work with and fits on your ceramic tile. You'll also get a sneaky preview of the inside of your cane.  


Once it is the desired diameter, it is ready to bake according to the polymer clay manufacturer's instructions.  


6. For the smaller and longer black and white liquorice allsorts, follow the same method but alter the ratio for the inner and outer colours. The inner white sausage needs to be thicker, and the outer black wrap-around needs to be thinner.


But still be careful not to overlap the black, or it will warp the shape.


Roll out to approximately 1mm in diameter, and now it's ready to bake.


7. Now for the square liquorice all-sorts. For this we will use a layering and reducing technique. Begin by rolling flat your white polymer clay to approx 4-5mm in thickness. Width doesn't matter but you don't want it much bigger than a couple of centimetres (one inch) or it becomes difficult to work with). Do the same for whichever colour you are using (brown, orange, yellow, or pink), and finally the black polymer clay. It doesn't matter what size you choose, but make sure all the different coloured pieces are approximately the same as this makes for less waste.

8. Layer your colours according to whichever kind of liquorice you are making. I can never remember what order it should, so I like to reference a photo  (or even better buy some real liquorice!). 
9. Now slowly and evenly roll out your layered polymer clay, turning over every so often. If your clay seems to get stuck to your work surface, slide your blade underneath it. Don't pull it or it will warp - or worse break! The outer layers will try to thin out faster than the inner layers, so it's important to do it slowly and gently. Keep going until your layers are about 1.5-3mm thick in total depending on how many layers you have. Don't go too thin or you won't be able to make out the layers on the finished sweet.


10. Using your sharp blade, cut lines vertically and horizontally about 3mm apart. At this point, do not try to separate them all out. It will take you years!


11. For the twisted black liquorice, roll out a piece of black polymer clay as thinly as you dare without breaking it. It doesn't have to be a very long piece, in fact I would cut it in half if it gets to more than 10cm (4 inches).


Take two of these thin strands and pinch them together at one end.


Then roll the loose ends to form a twist. You have to be very gentle so you don't squash the clay and lose the pattern.


12. The liquorice allsorts are now ready to be baked according to the polymer clay manufacturer's instructions. I use Fimo Soft which goes in the oven at 125 Celcius for 25-30 minutes, but you should check yours.

Don't bake your rolling pin like I nearly did!

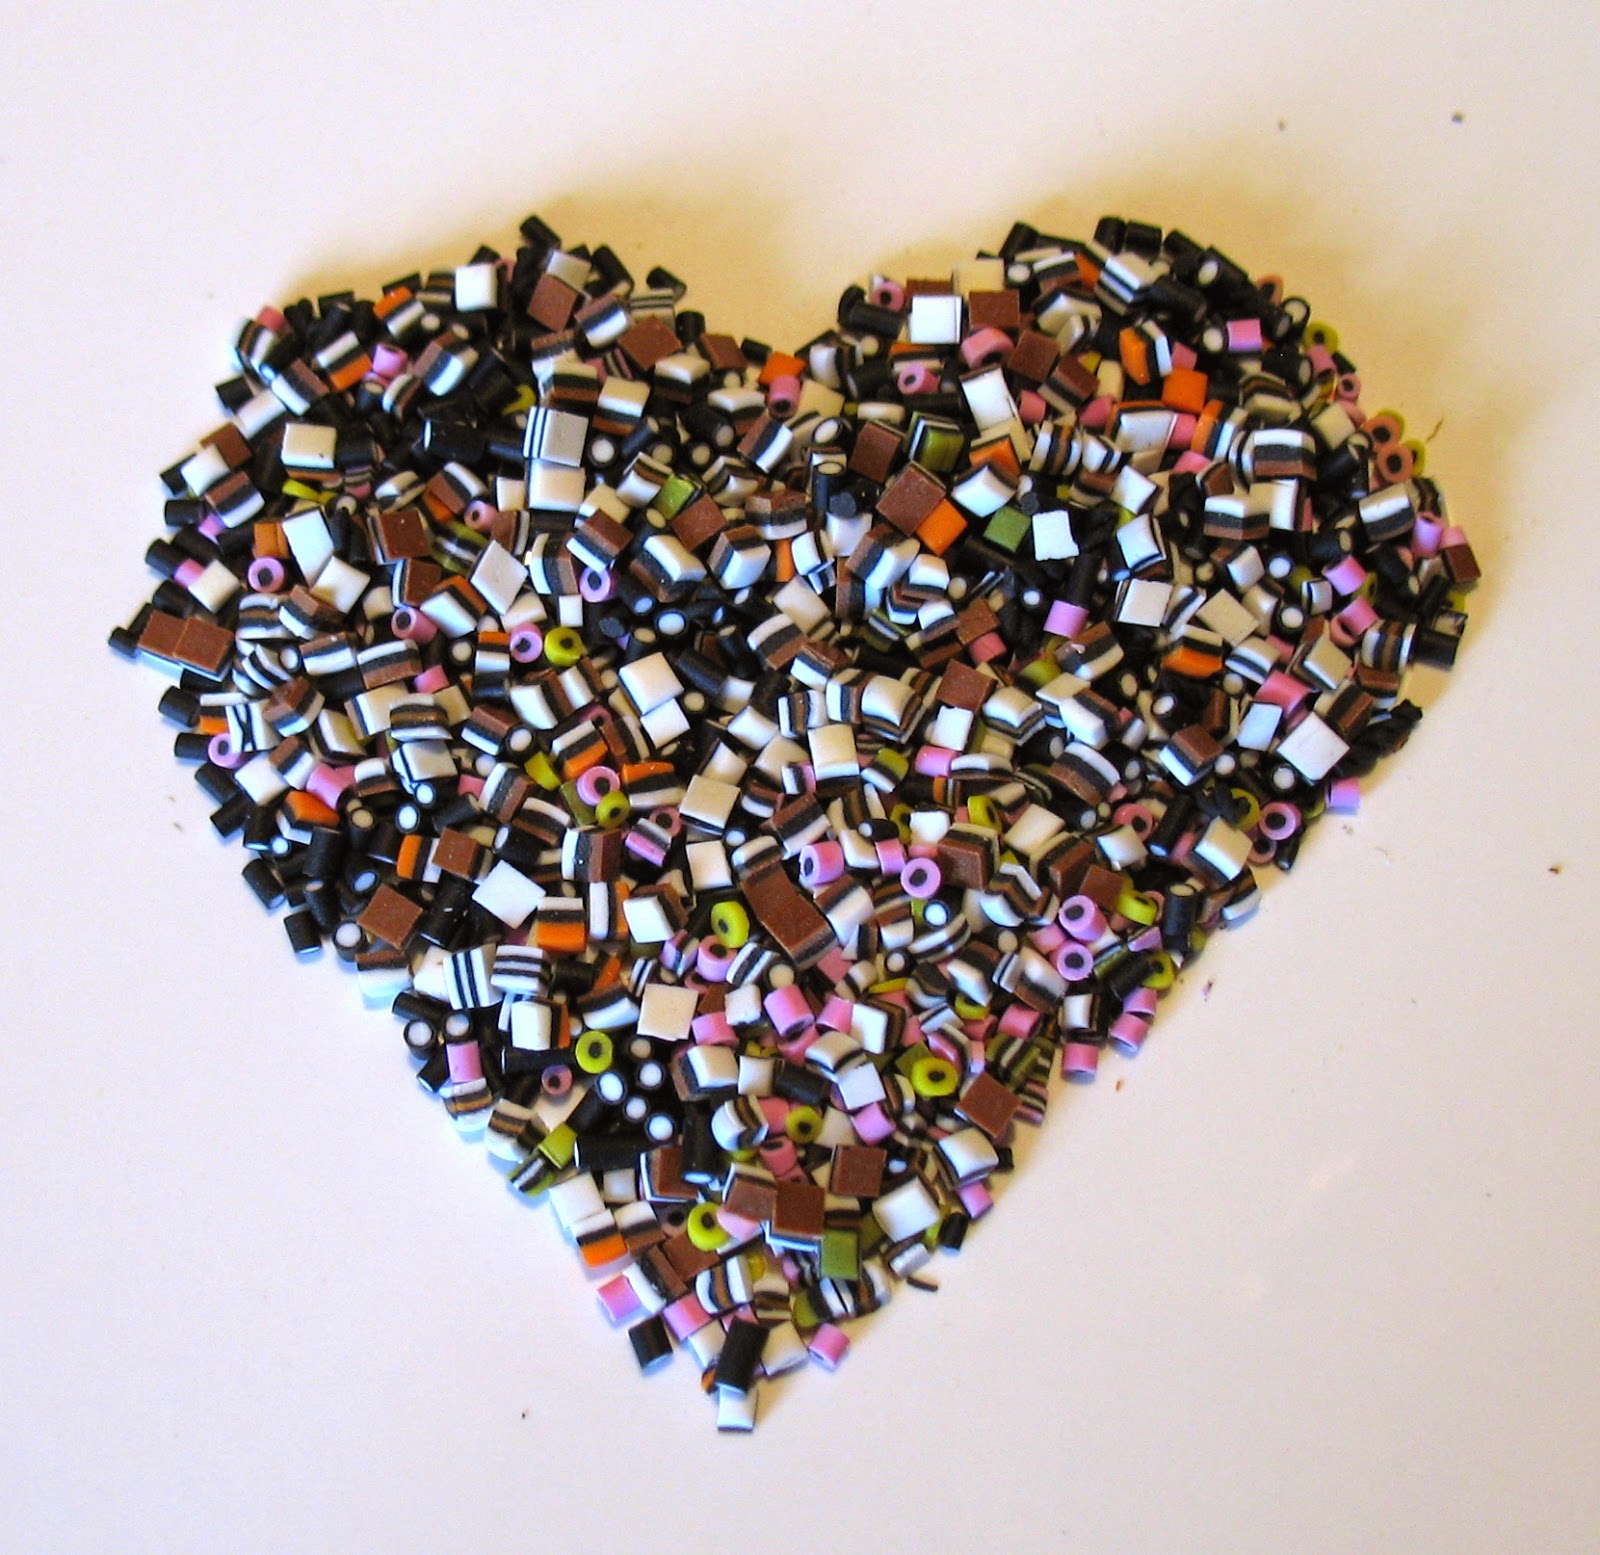
 13. Allow all your miniatures to cool thoroughly before handling. Now for the fun part, cutting up your canes and layers for the finished candy. Using your sharp blade over the ceramic tile, cut your round cane approximately every 1-2mm. The candies may ping out and you will be finding them forever more in every nook and cranny, so be careful when you do this. And don't have anyone sitting opposite you, it could land in their eye!
https://www.etsy.com/shop/littletimewasters?section_id=12733648&ref=shopsection_leftnav_5

14. For the square liquorice all-sorts, simply slice your blade down the vertical and horizontal lines you already made. You could snap them out, but it makes for a cleaner edge to use your blade. Scrap any candies whose layers are not complete (the ones near the edge of the sandwich may have to be scrapped).

https://www.etsy.com/shop/littletimewasters?section_id=12733648&ref=shopsection_leftnav_5


A final word of warning: please be careful when handling blades and hot items from the oven. Please do not leave your miniature liquorice unattended with young children, because they are very small and very yummy looking but are very, very inedible!

Thursday 23 June 2016

Fishes

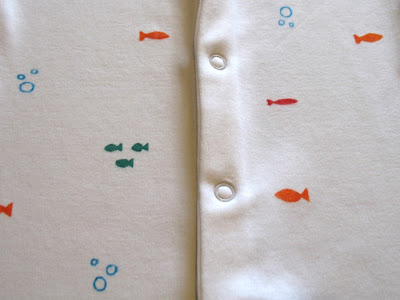
Here's a fishy sleep suit I hand drew recently. 

fish baby sleep suit

The whole time I was drawing this, I couldn't stop humming 'Under the Sea' to myself. 
I am a terrible singer, luckily my baby hasn't realised this yet and still thinks I'm cool.

fish baby suit

And now I've got that ditty off the Young's fish advert swimming around* in my head:

'Thou shalt have a fishy
On a little dishy,
Thou shalt have a fishy,
When the boats come in.'

fish baby sleep suit

My poor baby is going to have such a headache.


*I apologise for the terrible pun, I truly couldn't help myself.

Tuesday 21 June 2016

Summer time!
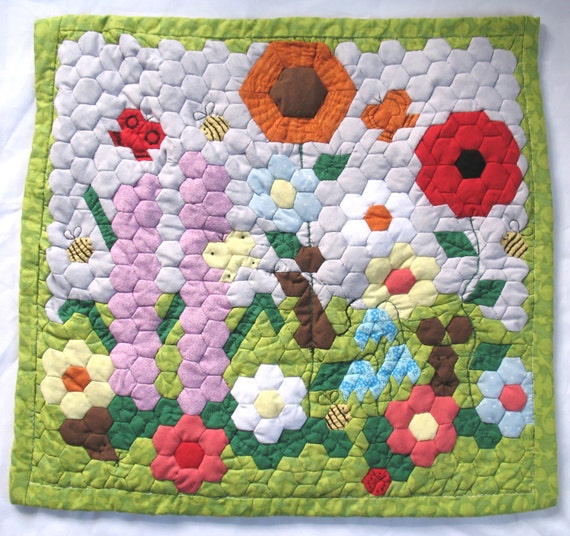
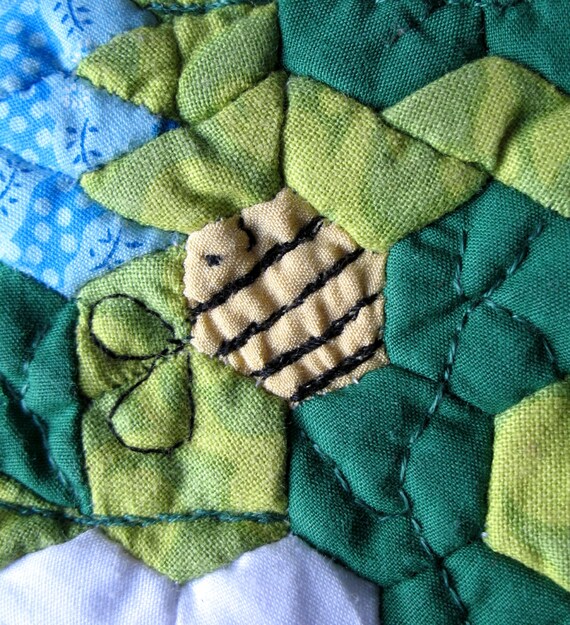
Here is a mini quilt (not a dollhouse miniature) I made a couple of years ago that feels particularly apt now Summer is officially here. We even had a weekend of good weather recently - although it's now gone grey and overcast again. This is Britain after all.


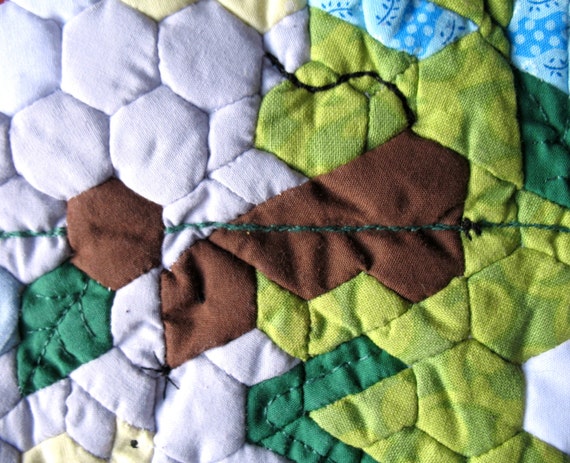
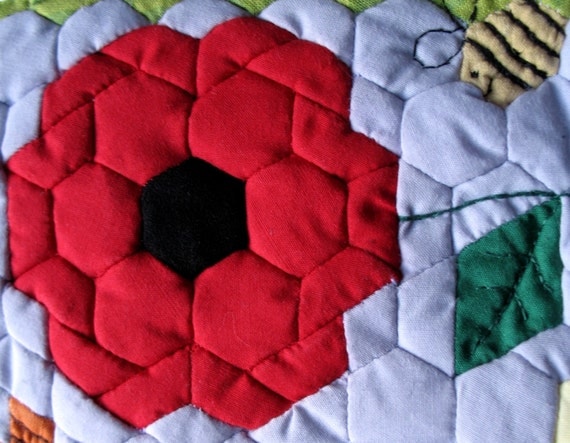
This design was my own, hand-sewn using English paper piecing. I really enjoyed how intricate it was. Each hexagon is about 1.5cm across, the whole mini quilt was about 45 x 45cm. 

There are a few insects hidden about the place.


And a few mice! an you spot all the mice and insects?

And lots of summer flowers of course.


Here's hoping for a bit more sunshine in the weeks to come.

Saturday 18 June 2016

Counting Sheep

I think sleep must be one of the biggest issues when you have a baby. How long does he sleep for, or how little depending on your point of view? Is he sleeping through? What even counts as sleeping through? What time does he go to bed? Are you still in the same room? How should he be sleeping at this age? What do you do to help him sleep? And it goes on and on. 

Baby Andrew was quite hard work in the early days. He only ever woke because he was hungry, but boy was he hungry often. You don't get to the 90th percentile without a good appetite. Thankfully we seem to be beyond the waking every 1.5 hours for feeding stage (touch wood!) but I can never take a decent night's sleep for granted, you never know if it's going to be your last in a while.

And even when baby is sleeping soundly, that doesn't mean mummy is. I can easily keep myself awake with my brain going into overdrive just as it should be shutting down. It's 2am and I'm thinking about what needs to get done tomorrow (well today now) or some random thing that happened last year or what I wish I'd said. All the while the whole family is soundly asleep and I'm missing out on precious zzz's! I suspect I'm not the only one. Why do we do this to ourselves?

I've never found counting sheep to be particularly helpful when I need to drift off, but it's a cute idea. And it was the inspiration behind my latest hand drawn baby sleep-suit. A girl can dream, right?

sheep sleep suit


sheep sleep suit

sheep sleep suit

Wednesday 15 June 2016

Strawberries

One of my favourite things about summer is it is strawberry season. I have a few plants of my own. Strawberries always taste better when you pick them yourself, fact of life.

Here is a strawberry themed onesie I drew recently.

strawberry onesie

strawberry onesie

Monday 13 June 2016

Alphabet Quilt

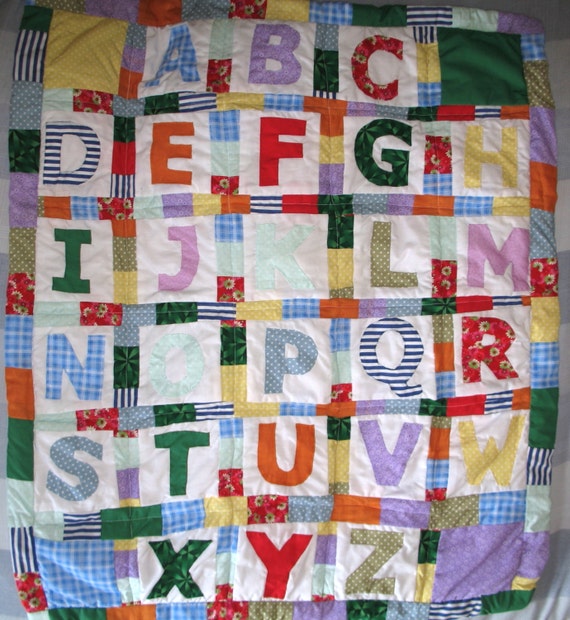
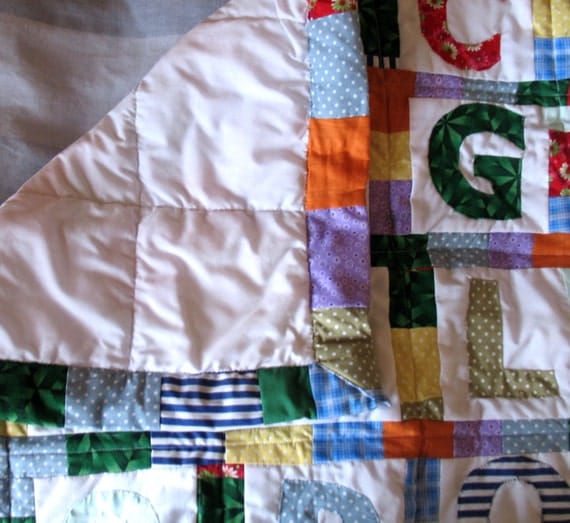
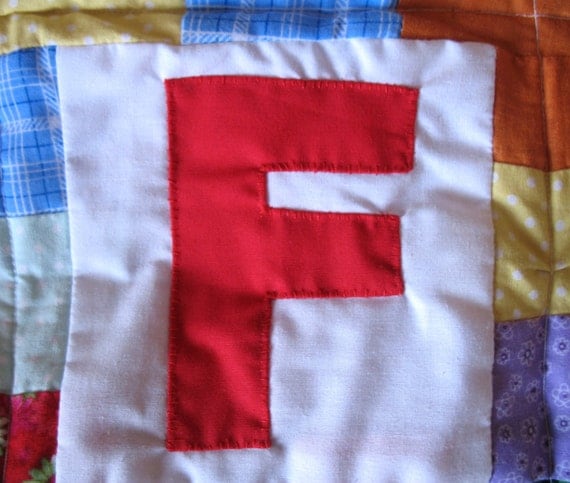
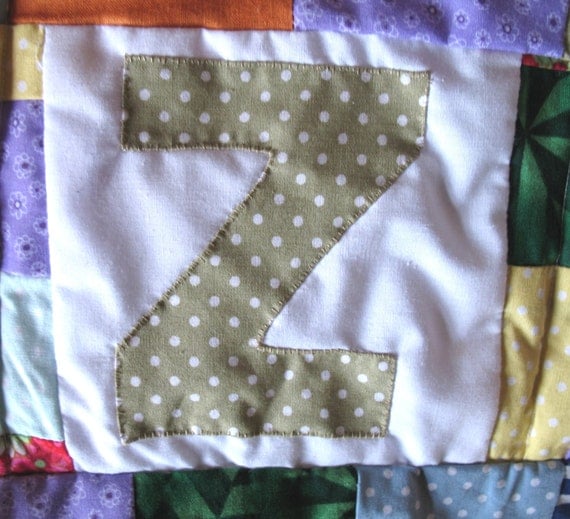
I made this Alphabet quilt a couple of years ago, long before I even decided to start trying for a baby. I didn't have anything in mind for it, I'd just learnt how to appliqué and wanted something interesting to do with that skill. Letters are interesting shapes! It will have a purpose when my little lad is a bit older.

alphabet quilt

I hand appliquéd each of the letters, then machine pieced everything else together.
It measures about 30" x 35" overall. I love doing a bit of appliqué, I find it really satisfying.

alphabet quilt

I admit to being super lazy when it comes to prepping for patchwork. I don't even pin or baste the appliqué patches to their backgrounds properly before sewing them. I just hold them in place and hand fold the seams as I go. I'm astonished it ended up as neat as it did in the end! I did use templates to cut out the letters though. I made my own just by printing off a font I liked in a large size and cutting them out. Super simple.

alphabet quilt

It's a bit of a mish-mash of colours as I was just using up random scraps from my fabric stash, 
but I don't think my little lad will complain. 

alphabet quilt

Friday 10 June 2016

Blue and Purple

You may have noticed I like drawing stars. It's true. Here's my latest star onesie in purple and blue. Because boys can wear a purple and girls can wear blue.

blue purple star onesie

blue purple star onesie


It goes nicely with my other star onesies, I seem to be slowly developing a whole range of them!

rainbow star onesie

red star onesie 

green star onesie

Tuesday 7 June 2016

Citrus

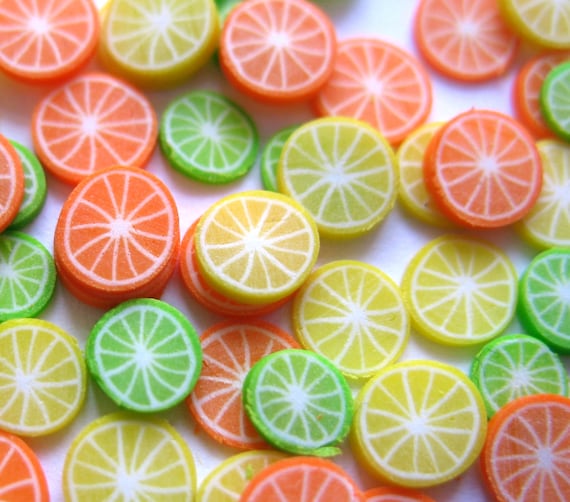
I find something beautiful about the natural form of citrus fruits. 
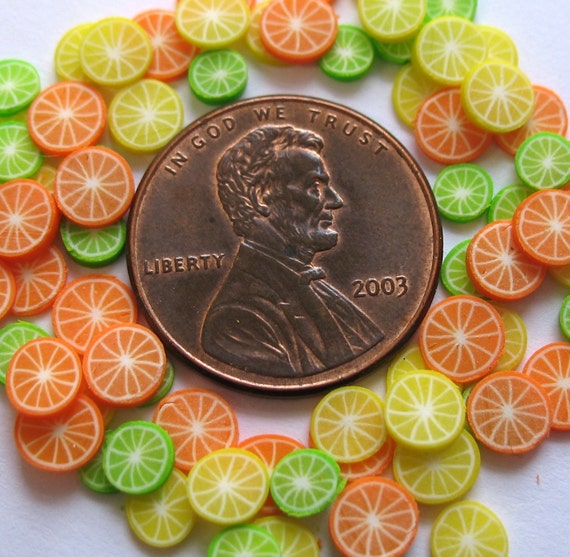
I loved making them in miniature from polymer clay. 

citrus slices

citrus slices miniature
And with a US penny for scale

I still enjoy drawing citrus fruit. so here is a citrus themed onesie I drew recently, 
including oranges, lemons and limes. 

citrus onesie

citrus onesie


Another citrus themed crafty thing I saw recently are these fruit jellies

orange jello slices

There is a helpful tutorial on NotMartha.org
I am so going to give this a go when baby Andrew gets older!


Sunday 5 June 2016

Miniatures

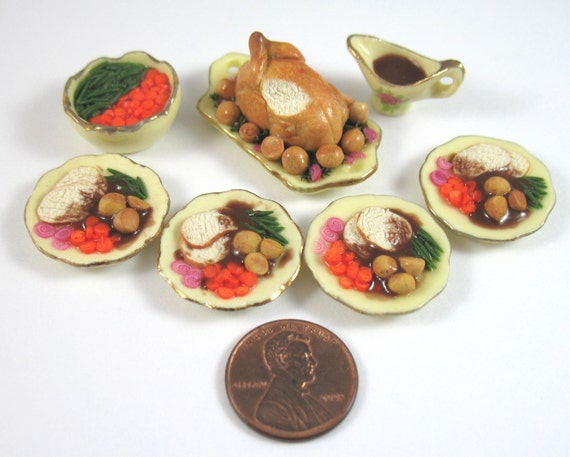
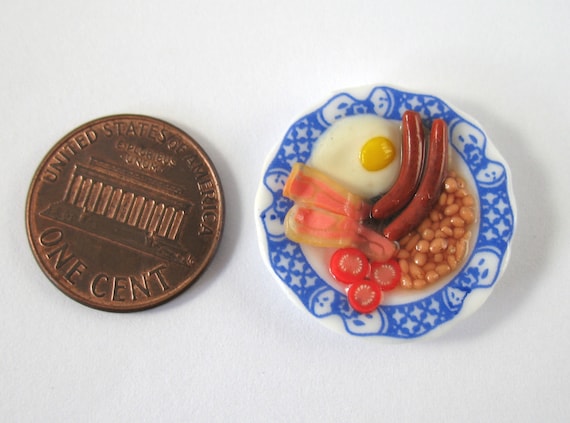
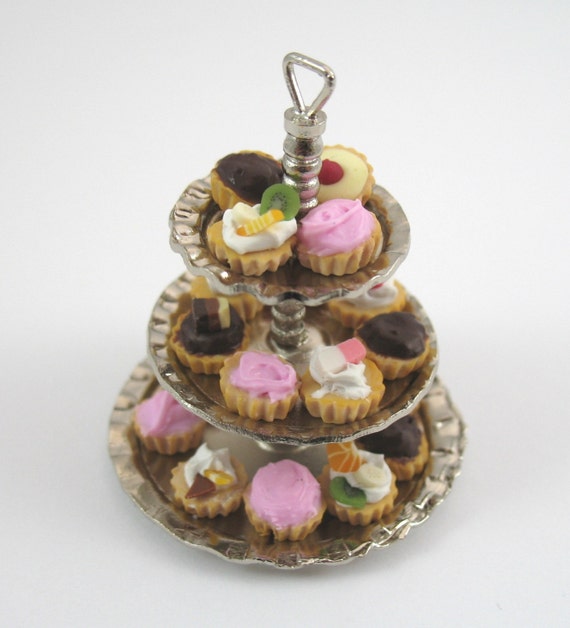
In my previous life when I didn't have an adorable but demanding mini human to care for, I very much enjoyed miniatures of another kind. I made dollhouse miniature food from polymer clay, which is a kind of modelling clay you can cure in a normal home oven. I usually stuck to 12th scale (one real life foot = 1 inch in miniature) as this is the most common scale for dollhouse collectors.

dollhouse food
12th scale dollhouse turkey dinner
I enjoyed making my miniature food so much I set up a shop on Etsy in 2009 called Little Time Wasters, and have had a fair few sales over the years. I'm not quite quitting my day job, but it certainly paid for itself and was pretty satisfying as hobbies go. 

dollhouse food
12th scale dollhouse fried breakfast
Unfortunately the dollhouse food making has ground to a halt. It just isn't compatible with caring for a baby. Your hands get dirty, there are lots of small, sharp components all over the place, and it's not the sort of activity you can just pick up and put down when need be. You need to dedicate a couple of hours in one go, which is a luxury I rarely have nowadays! I still run the shop as I still have a few bits I've made available, but it doesn't get the time I'd like to give to it.

dollhouse food
12th scale dollhouse cupcakes
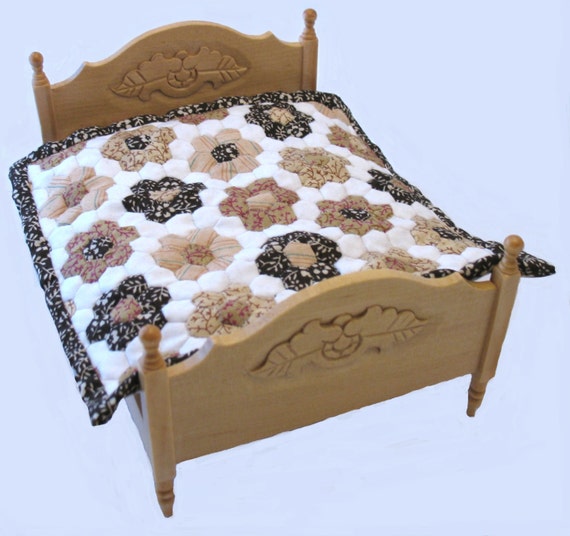
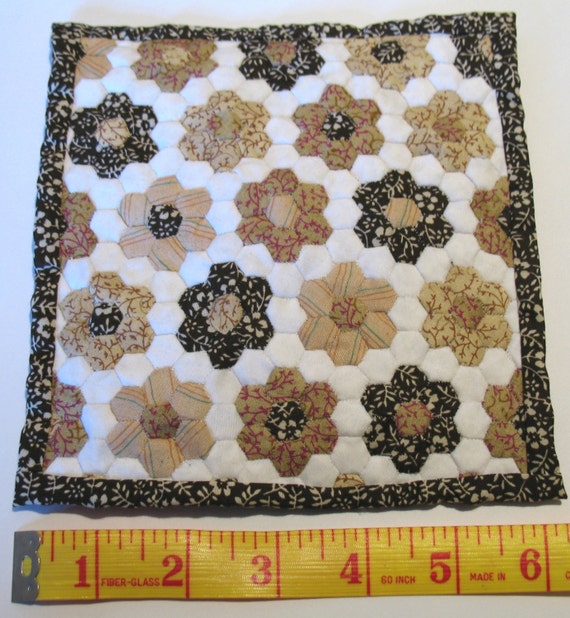
I also make 12th scale miniature quilts as this combines my love of patchwork and miniature. I still make one of these every so often as they don't take up much space (of course!) and more importantly I can do it sat on the sofa and put it down when I need to. My dollhouse miniature quilts are entirely hand sewn and usually paper pieced as it's the only way I've found to maintain precise joins on such a small scale. 

dollhouse quilt

dollhouse brown quilt

Eventually I hope to start making more miniatures again, although I have no idea when this will realistically happen. At what age do kids get easier? Haha who am I kidding?