
A while ago I mentioned how I used to love making doll house miniature food. I made a few tutorials once upon a time. Here is the simplest one, great if you're new to playing with polymer clay. This is doll house food related, but you could always scale up to make food jewellery. Just be aware that these mini liquorice look so tasty and cute when finished that they are definitely not intended for children!


Liquorice Allsorts Tutorial

You will need:
Black polymer clay
White polymer clay
Yellow polymer clay
Pink polymer clay (you'll probably need to mix white and pink to achieve the correct shade)
Mid brown polymer clay
Orange polymer clay
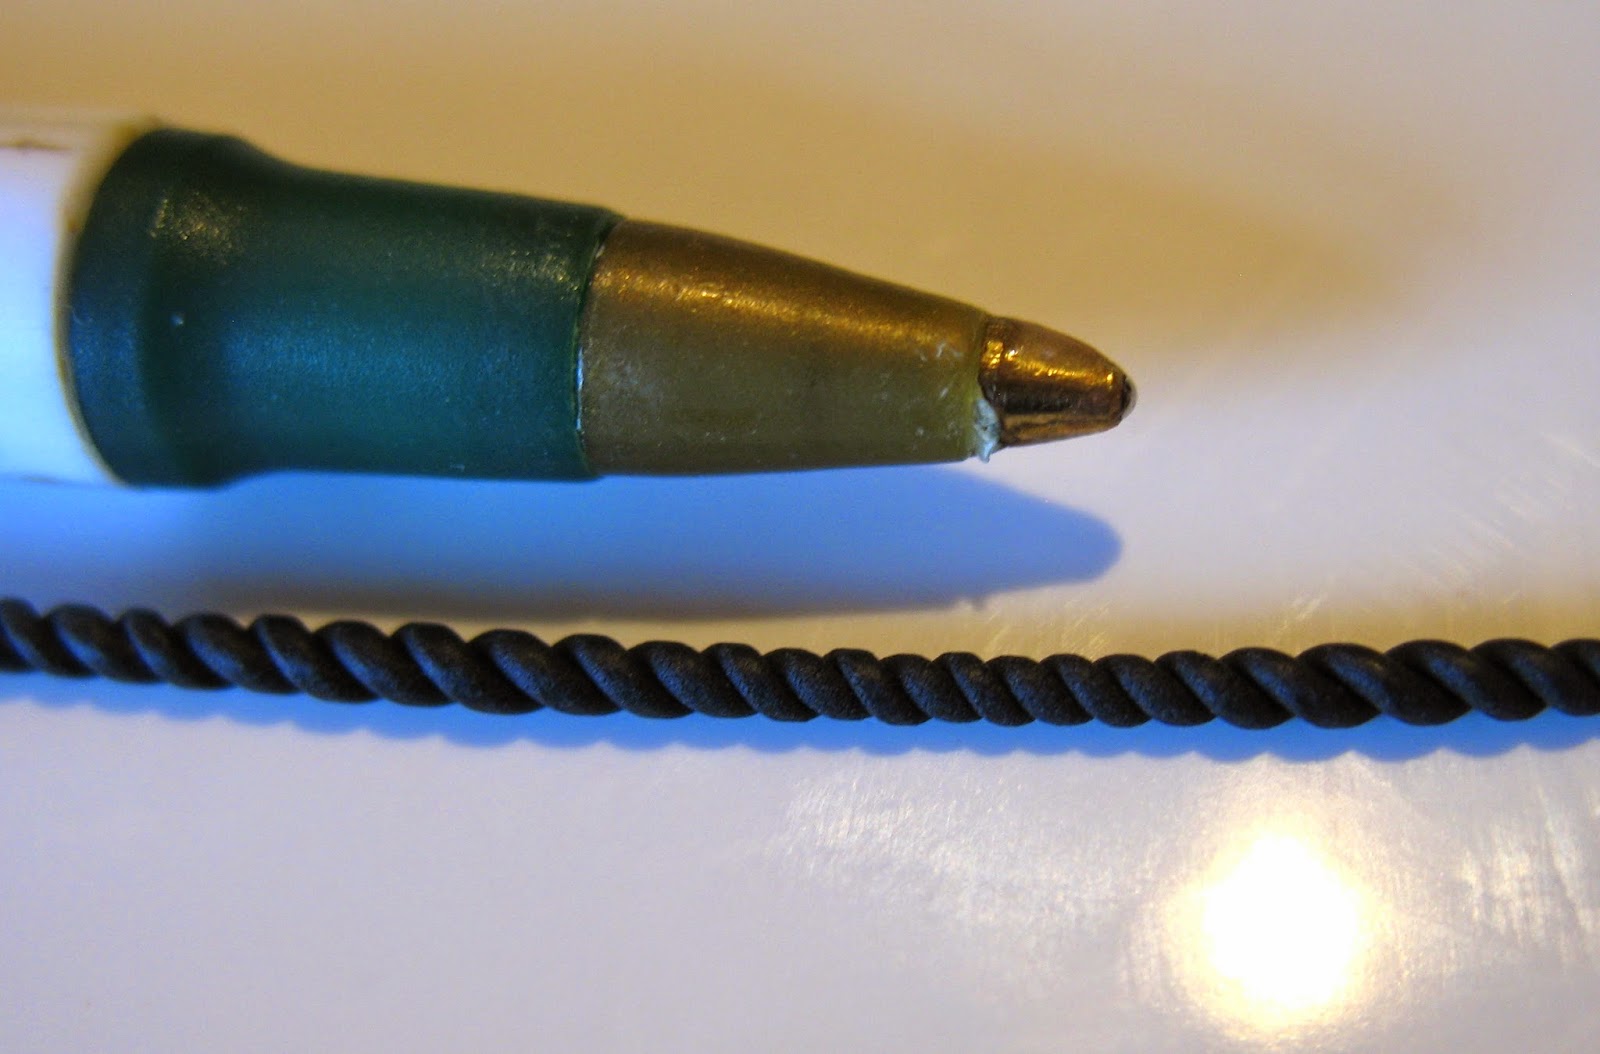
Rolling pin (I use an old pen!)
Sharp blade
Ceramic tile to work on
Oven

1.Before you begin, you need to ensure your work area and hands are clean, because unbaked polymer clay is a fluff magnet. I like to work on a large, blank ceramic tile, as this can go straight in the oven when it is time to bake the clay, without having to move your work and risk unwanted fingerprints. It helps to use a white tile, as fluff shows up better on it.
2. The clay needs to be conditioned to avoid it cracking later on. Do this by rolling it in the palms of your hands to put some heat into it so it becomes more malleable. My top tip for this tutorial is always start with the lightest colour first. If you start with the black clay, you will get black all over everything and turn everything grey. When you do handle colours which stain, such as black, dark pink and brown, be sure to wash your hands before handling lighter colours again.
3. Let's start with the round yellow and pink liquorice allsorts. For this you need to make a very simple cane. Start by rolling out a sausage of black polymer clay about 7mm in diameter. It only needs to be one or two inches long (this will be enough for squillions of miniature sweets). Then roll out a strip of the outer colour (pink or yellow). It needs to be at least as thick as your sausage was, and as wide as your sausage is long.

You always need much more of the outer colour (pink or yellow) than you'd think. Cut one end of your outer colour so it is even, and begin wrapping your black sausage. Once the two sides fully wrap the sausage, cut the other end of the outer colour so it is flat and lies flush. This way, it should be evenly thick all the way round, and you won't have any overlap.

4. Slowly roll your completed liquorice cane thinner and thinner until it is the desired size I like my liquorice candy to be about 2mm in diameter. You need to roll as evenly as possible so the cane doesn't warp. I use just my two index fingertips, working from the middle outward and pressing only lightly. Don't roll too hard, as the cane can very quickly become unworkably thin. Don't worry about the ends being too thick or looking terrible, the ends of canes are always scrap. Keep the polymer clay though, it may come in useful for something else.


6. For the smaller and longer black and white liquorice allsorts, follow the same method but alter the ratio for the inner and outer colours. The inner white sausage needs to be thicker, and the outer black wrap-around needs to be thinner.

But still be careful not to overlap the black, or it will warp the shape.

Roll out to approximately 1mm in diameter, and now it's ready to bake.

7. Now for the square liquorice all-sorts. For this we will use a layering and reducing technique. Begin by rolling flat your white polymer clay to approx 4-5mm in thickness. Width doesn't matter but you don't want it much bigger than a couple of centimetres (one inch) or it becomes difficult to work with). Do the same for whichever colour you are using (brown, orange, yellow, or pink), and finally the black polymer clay. It doesn't matter what size you choose, but make sure all the different coloured pieces are approximately the same as this makes for less waste.


10. Using your sharp blade, cut lines vertically and horizontally about 3mm apart. At this point, do not try to separate them all out. It will take you years!

11. For the twisted black liquorice, roll out a piece of black polymer clay as thinly as you dare without breaking it. It doesn't have to be a very long piece, in fact I would cut it in half if it gets to more than 10cm (4 inches).

Take two of these thin strands and pinch them together at one end.

Then roll the loose ends to form a twist. You have to be very gentle so you don't squash the clay and lose the pattern.


Oven
1.Before you begin, you need to ensure your work area and hands are clean, because unbaked polymer clay is a fluff magnet. I like to work on a large, blank ceramic tile, as this can go straight in the oven when it is time to bake the clay, without having to move your work and risk unwanted fingerprints. It helps to use a white tile, as fluff shows up better on it.
2. The clay needs to be conditioned to avoid it cracking later on. Do this by rolling it in the palms of your hands to put some heat into it so it becomes more malleable. My top tip for this tutorial is always start with the lightest colour first. If you start with the black clay, you will get black all over everything and turn everything grey. When you do handle colours which stain, such as black, dark pink and brown, be sure to wash your hands before handling lighter colours again.
3. Let's start with the round yellow and pink liquorice allsorts. For this you need to make a very simple cane. Start by rolling out a sausage of black polymer clay about 7mm in diameter. It only needs to be one or two inches long (this will be enough for squillions of miniature sweets). Then roll out a strip of the outer colour (pink or yellow). It needs to be at least as thick as your sausage was, and as wide as your sausage is long.
You always need much more of the outer colour (pink or yellow) than you'd think. Cut one end of your outer colour so it is even, and begin wrapping your black sausage. Once the two sides fully wrap the sausage, cut the other end of the outer colour so it is flat and lies flush. This way, it should be evenly thick all the way round, and you won't have any overlap.
4. Slowly roll your completed liquorice cane thinner and thinner until it is the desired size I like my liquorice candy to be about 2mm in diameter. You need to roll as evenly as possible so the cane doesn't warp. I use just my two index fingertips, working from the middle outward and pressing only lightly. Don't roll too hard, as the cane can very quickly become unworkably thin. Don't worry about the ends being too thick or looking terrible, the ends of canes are always scrap. Keep the polymer clay though, it may come in useful for something else.
5. Your cane may become really long, so cut it in half every so often so it is easy to work with and fits on your ceramic tile. You'll also get a sneaky preview of the inside of your cane.
Once it is the desired diameter, it is ready to bake according to the polymer clay manufacturer's instructions.
6. For the smaller and longer black and white liquorice allsorts, follow the same method but alter the ratio for the inner and outer colours. The inner white sausage needs to be thicker, and the outer black wrap-around needs to be thinner.
But still be careful not to overlap the black, or it will warp the shape.
Roll out to approximately 1mm in diameter, and now it's ready to bake.
7. Now for the square liquorice all-sorts. For this we will use a layering and reducing technique. Begin by rolling flat your white polymer clay to approx 4-5mm in thickness. Width doesn't matter but you don't want it much bigger than a couple of centimetres (one inch) or it becomes difficult to work with). Do the same for whichever colour you are using (brown, orange, yellow, or pink), and finally the black polymer clay. It doesn't matter what size you choose, but make sure all the different coloured pieces are approximately the same as this makes for less waste.
8. Layer your colours according to whichever kind of liquorice you are making. I can never remember what order it should, so I like to reference a photo (or even better buy some real liquorice!).
9. Now slowly and evenly roll out your layered polymer clay, turning over every so often. If your clay seems to get stuck to your work surface, slide your blade underneath it. Don't pull it or it will warp - or worse break! The outer layers will try to thin out faster than the inner layers, so it's important to do it slowly and gently. Keep going until your layers are about 1.5-3mm thick in total depending on how many layers you have. Don't go too thin or you won't be able to make out the layers on the finished sweet.
11. For the twisted black liquorice, roll out a piece of black polymer clay as thinly as you dare without breaking it. It doesn't have to be a very long piece, in fact I would cut it in half if it gets to more than 10cm (4 inches).
Take two of these thin strands and pinch them together at one end.
Then roll the loose ends to form a twist. You have to be very gentle so you don't squash the clay and lose the pattern.
12. The liquorice allsorts are now ready to be baked according to the polymer clay manufacturer's instructions. I use Fimo Soft which goes in the oven at 125 Celcius for 25-30 minutes, but you should check yours.
 |
| Don't bake your rolling pin like I nearly did! |
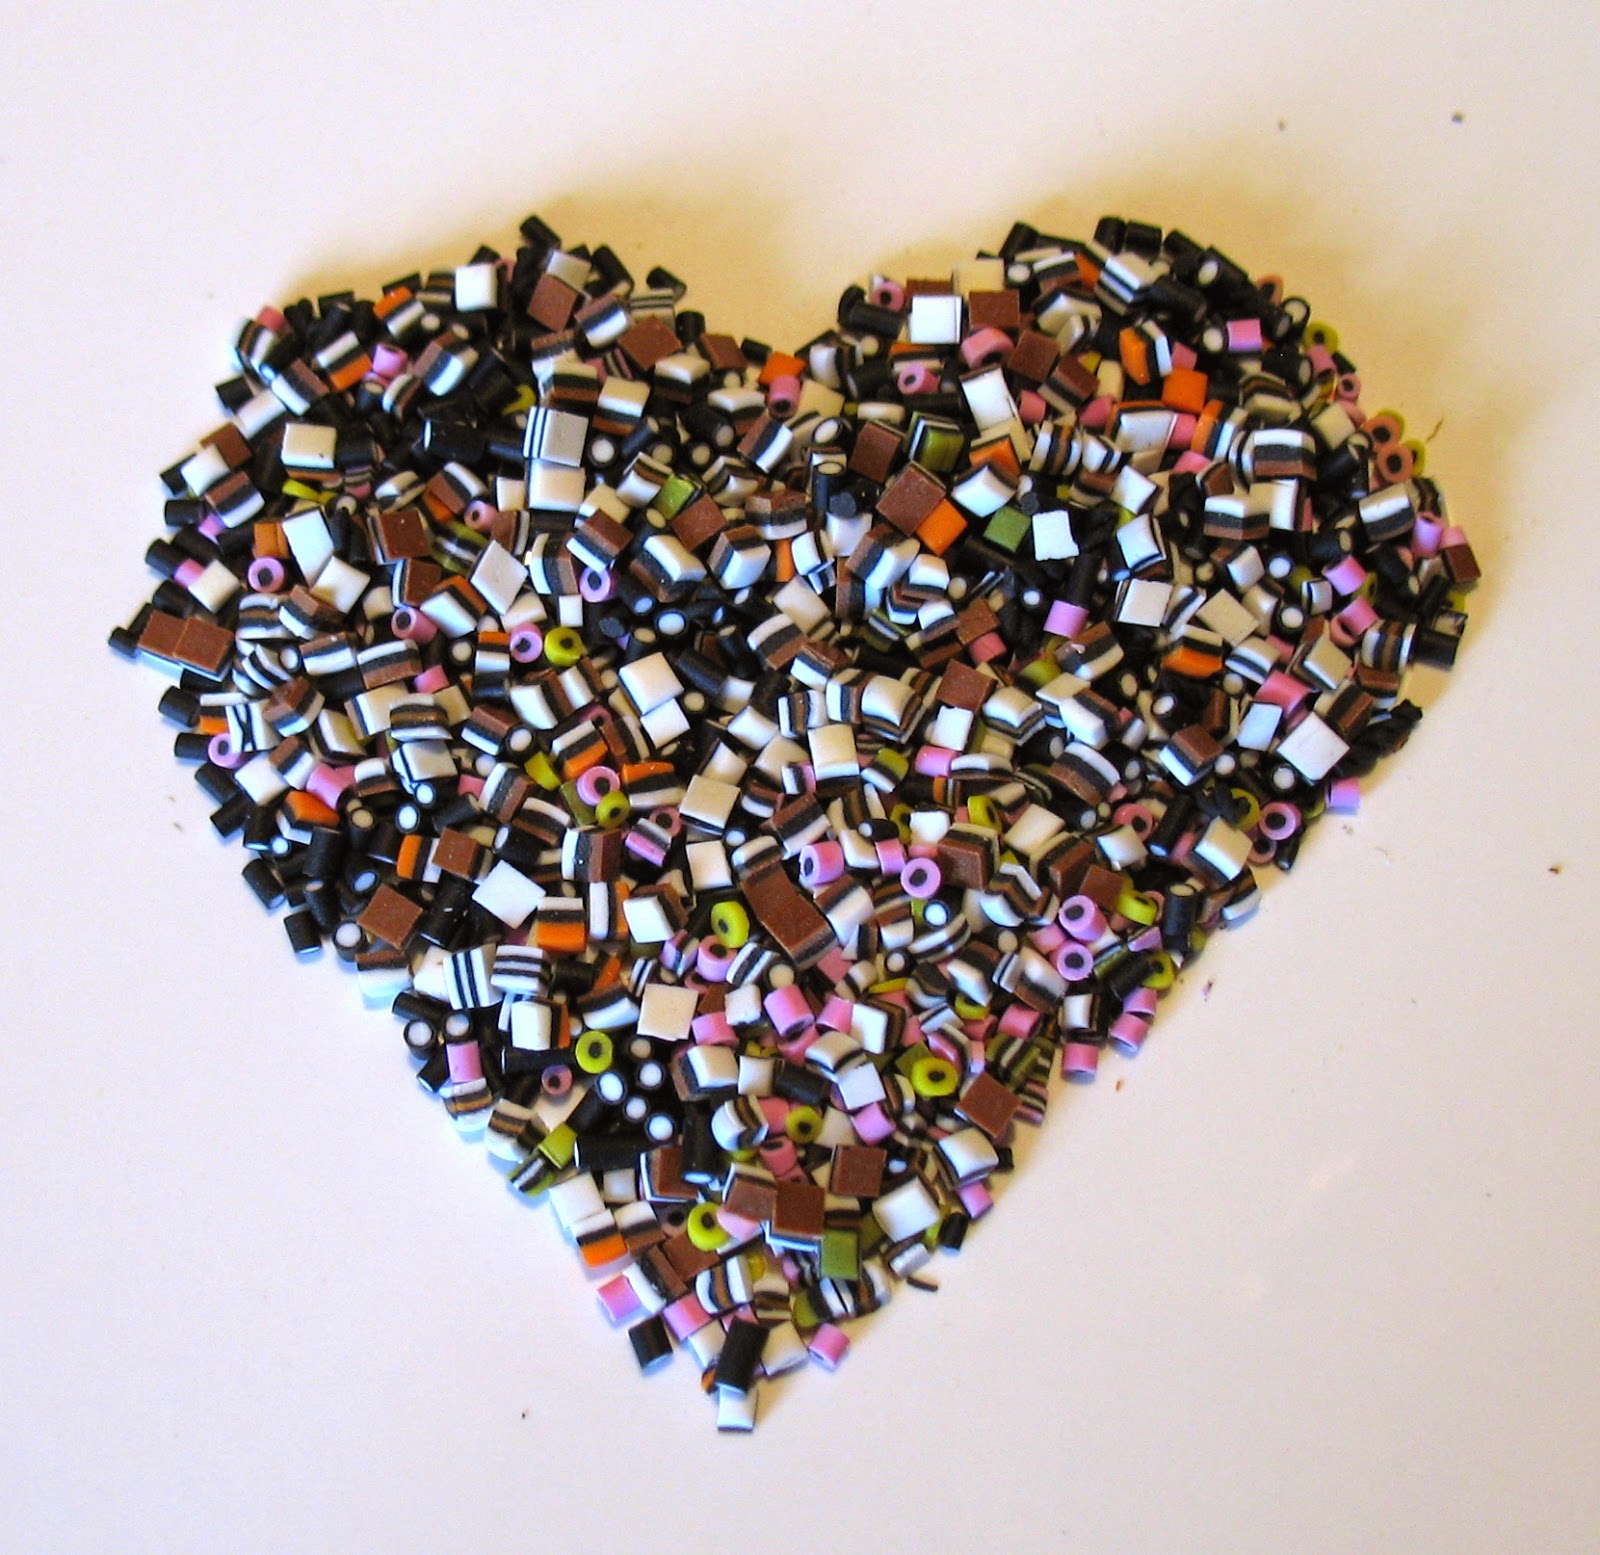
13. Allow all your miniatures to cool thoroughly before handling. Now for the fun part, cutting up your canes and layers for the finished candy. Using your sharp blade over the ceramic tile, cut your round cane approximately every 1-2mm. The candies may ping out and you will be finding them forever more in every nook and cranny, so be careful when you do this. And don't have anyone sitting opposite you, it could land in their eye!
14. For the square liquorice all-sorts, simply slice your blade down the vertical and horizontal lines you already made. You could snap them out, but it makes for a cleaner edge to use your blade. Scrap any candies whose layers are not complete (the ones near the edge of the sandwich may have to be scrapped).
A final word of warning: please be careful when handling blades and hot items from the oven. Please do not leave your miniature liquorice unattended with young children, because they are very small and very yummy looking but are very, very inedible!
No comments:
Post a Comment