Wednesday, 14 September 2016

The nursery continues

We've pretty much finished the baby's room (he's only 8 months old, it's about time) but I add the odd thing here and there still. I've put a couple of handmade wall hangings up. I made these both a couple of years ago, before we even thought about having babies, just because I enjoy sewing patchwork. But we decided they would fit in well with the baby's room.

The first one is an 'artistic interpretation' of our house. 


I'm super pleased with the button flowers in the pots.

The second is a space themed hanging I made for my husband who loves all things science. I needed something to do with all our space mission patches, so here is an Apollo rocket about to lift off.


It hangs vertically, I've no idea why I can't get this to upload the right way!


The most famous patch on my hanging.

Now the boy has something interesting to look at instead of bare yellow walls.

Friday, 26 August 2016

A is for...Awesome!

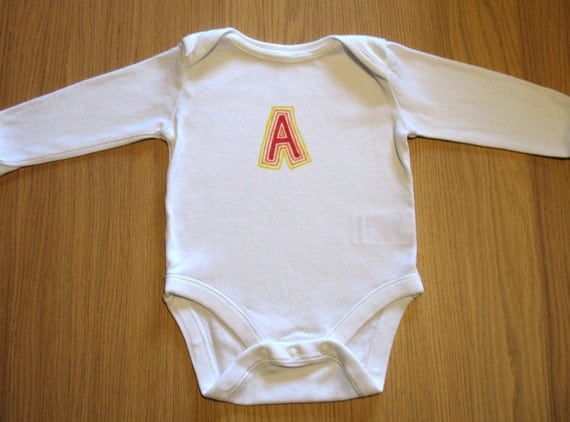
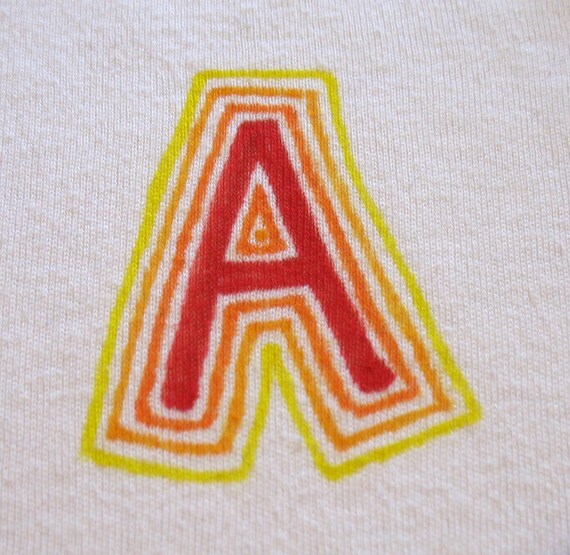
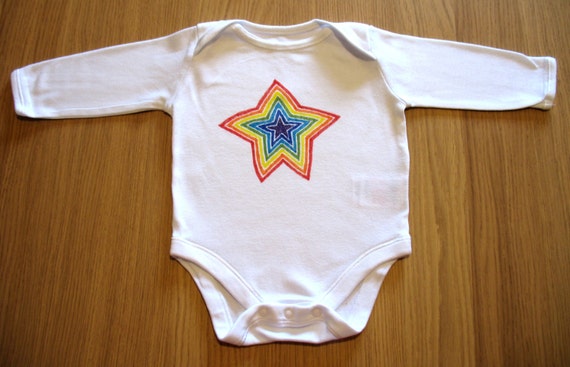
I've been wanting to do a letter design for my hand drawn onesies for a while. I've finally come up with a design I'm happy with. Of course I did the letter A first, partly because it's first alphabetically, but mostly because everyone in this house's name begins with an A. No, it wasn't done on purpose (meaning I didn't specifically search for A names because we're both A names), yes, I do constantly muddle up my son and husband's names. Such is life.

Here is my first effort at lettering:

letter onesie

letter onesie

It was inspired by my star designs I so enjoy drawing. 

I've allowed for any letter and any colour combination in my Etsy shop
I'm looking forward to seeing what different versions we can come up with.


Tuesday, 23 August 2016

Black Star

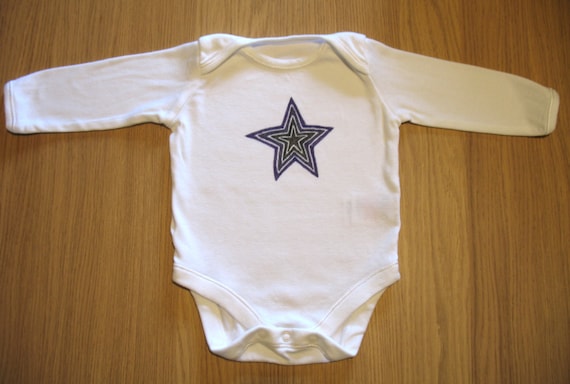
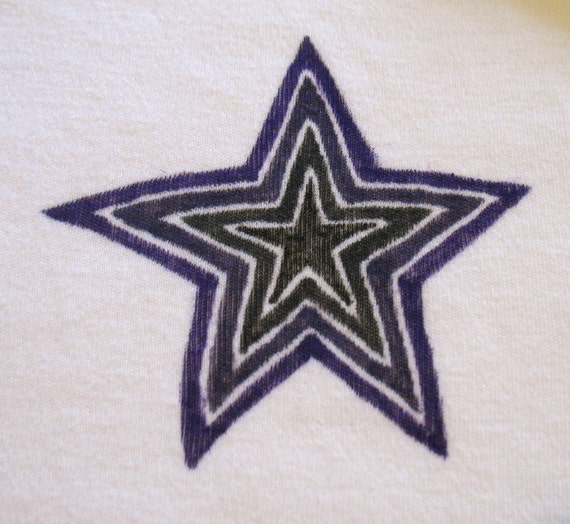
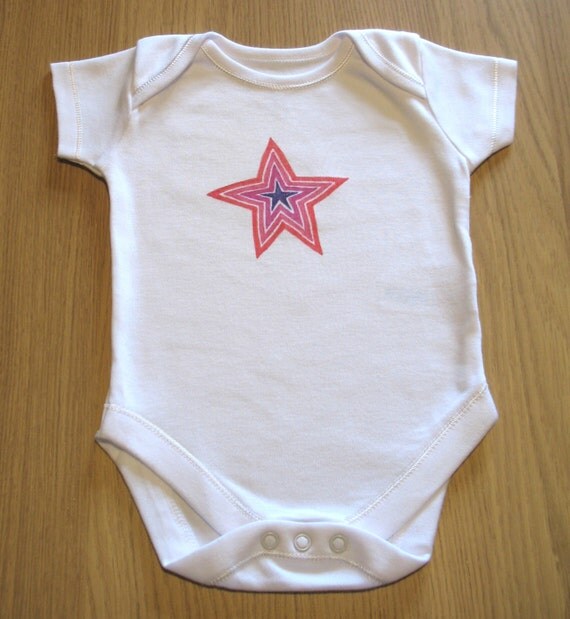
I was a bit of a rocker (or so I wished) in my youth. Black, purple and red were definitely in fashion. I did love other colours, but those seemed to reoccur quite often. It appears I haven't quite grown out of my gothic phase, judging by my latest hand drawn onesie.

black star


black star onesie

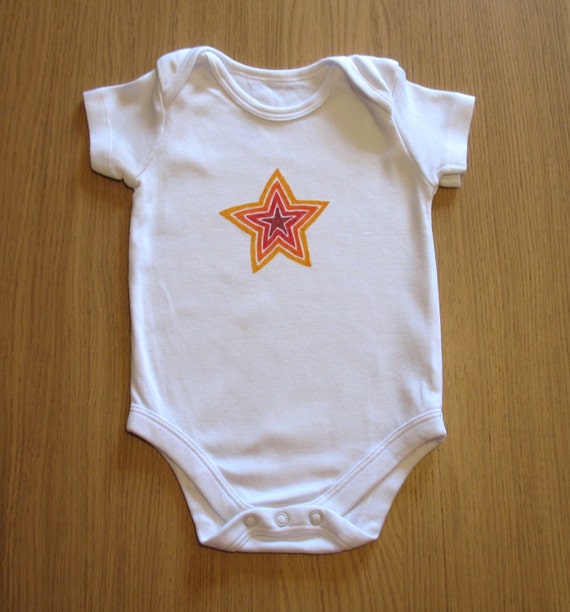
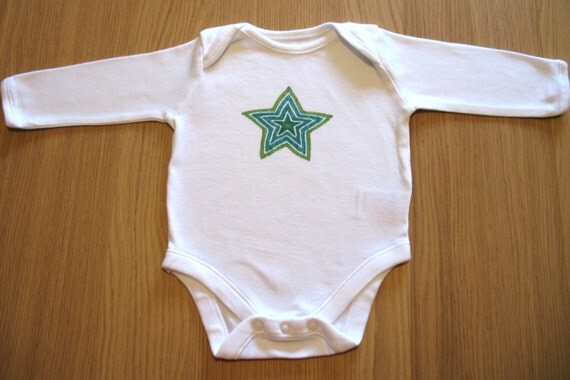
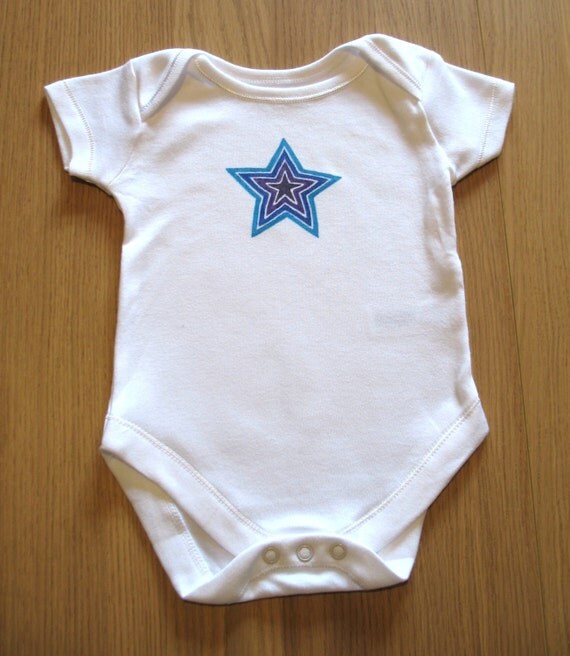
I'm rather loving the black and purple star onesie. I've accidentally started a starry range.


The rainbow one is still my favourite just because I like ALL the colours, but I think baby Andrew enjoyed wearing all of them. They're all too small for him now (how did that happen so quickly?!). Oh well, I shall have to draw him some more.


Tuesday, 2 August 2016

Nursery Bunting

Baby Andrew's bedroom is finally finished (6 months after he was born, better late than never). I had fun making some of the finishing touches like the curtains and bunting. The room itself is quite neutral as I don't like to assign colours based on gender, so I went for a little more colour in the accessories. Here is the finished bunting.

I really hope the boy is into rockets and space and engineering in general as that is where the room seems to have gone! We got given a rocket cushion by my mother and I thought it was so cute that's what I based the bunting on.


There are loads of how to make bunting tutorials out there so I won't add another. Most of them tell you to carefully cut around a paper template, which I am too lazy to do! I just draw the triangles on to the fabric using a ruler and dissolvable ink pen, and cut the fabric that way. The only big tip I would insist on is mark your ribbon at regular intervals, unless you want the flags to have random gaps between them. Trust me, it is almost impossible to judge this by eye! I have made some wonky bunting in my time and found out the hard way.


I'm also making a patchwork blanket with the remnants of all the fabric I used for the curtains and bunting. It will be as big as the remnant fabric allows, I'm not spending money on new fabric for it. Hopefully I will get that finished before another 6 months flies by! Here's a sneaky peak.


Saturday, 30 July 2016

Making the Nursery Curtains

I couldn't find any curtains for baby Andrew's room that I particularly liked, so I decided to buy some cool fabric and make some myself. I ended up using Spoonflower, a fabric site I have wasted many hours browsing with no purpose. So it was nice to finally have a cool excuse to buy something a bit quirky.

Here's the design I went for.


It's called Robot Circuit Board (red) by Robyriker. I liked that it's subtle but with a nerdy pattern if you look closely enough. My husband is an electrical engineer, so the circuit design appealed to him too.

Since Spoonflower is an American site I was expecting postage to be horrendously expensive, but it turns out the ship from Germany too, so it's very reasonable for most of Europe too. The fabric itself costs $17.50/yard for basic cotton, which would have been reasonable had I bought it before the UK voted to leave the EU and the pound plummeted. As it was, my exchange rate was rubbish. Oh well, silly me!

This was my first time making curtains and I basically winged it. I also wanted black out fabric since it's going in the child's room and we all want as much sleep as we can get. My made-up, probably wrong method of curtain making, was to cut the black out fabric to the exact size I wanted, then to fold the curtain fabric over that (double folding it so the raw edge is hidden. That way I could be sure both curtains would be the correct size so long as I cut the black out fabric correctly. It more or less worked! Pinning the fabrics together was the worst part since my table wasn't big enough and I lack the floor space to do it without blocking all the doors. I was also looking after baby Andrew alone, so this took ALL DAY!

Here are the finished curtains. I'm pretty pleased with how they turned out for a first attempt.


I also made a simple orange curtain for the bottom half of the window as passers-by have a tendency to stare in! 

Monday, 25 July 2016

My Dear Jane Quilt

A few years ago I discovered the joy that is patchwork and quilting. Since I always like to run before I can walk, I decided as my second ever quilt to go for the mother of them all, a Baby Jane quilt, based on a Dear Jane quilt. 

green blue baby jane quilt

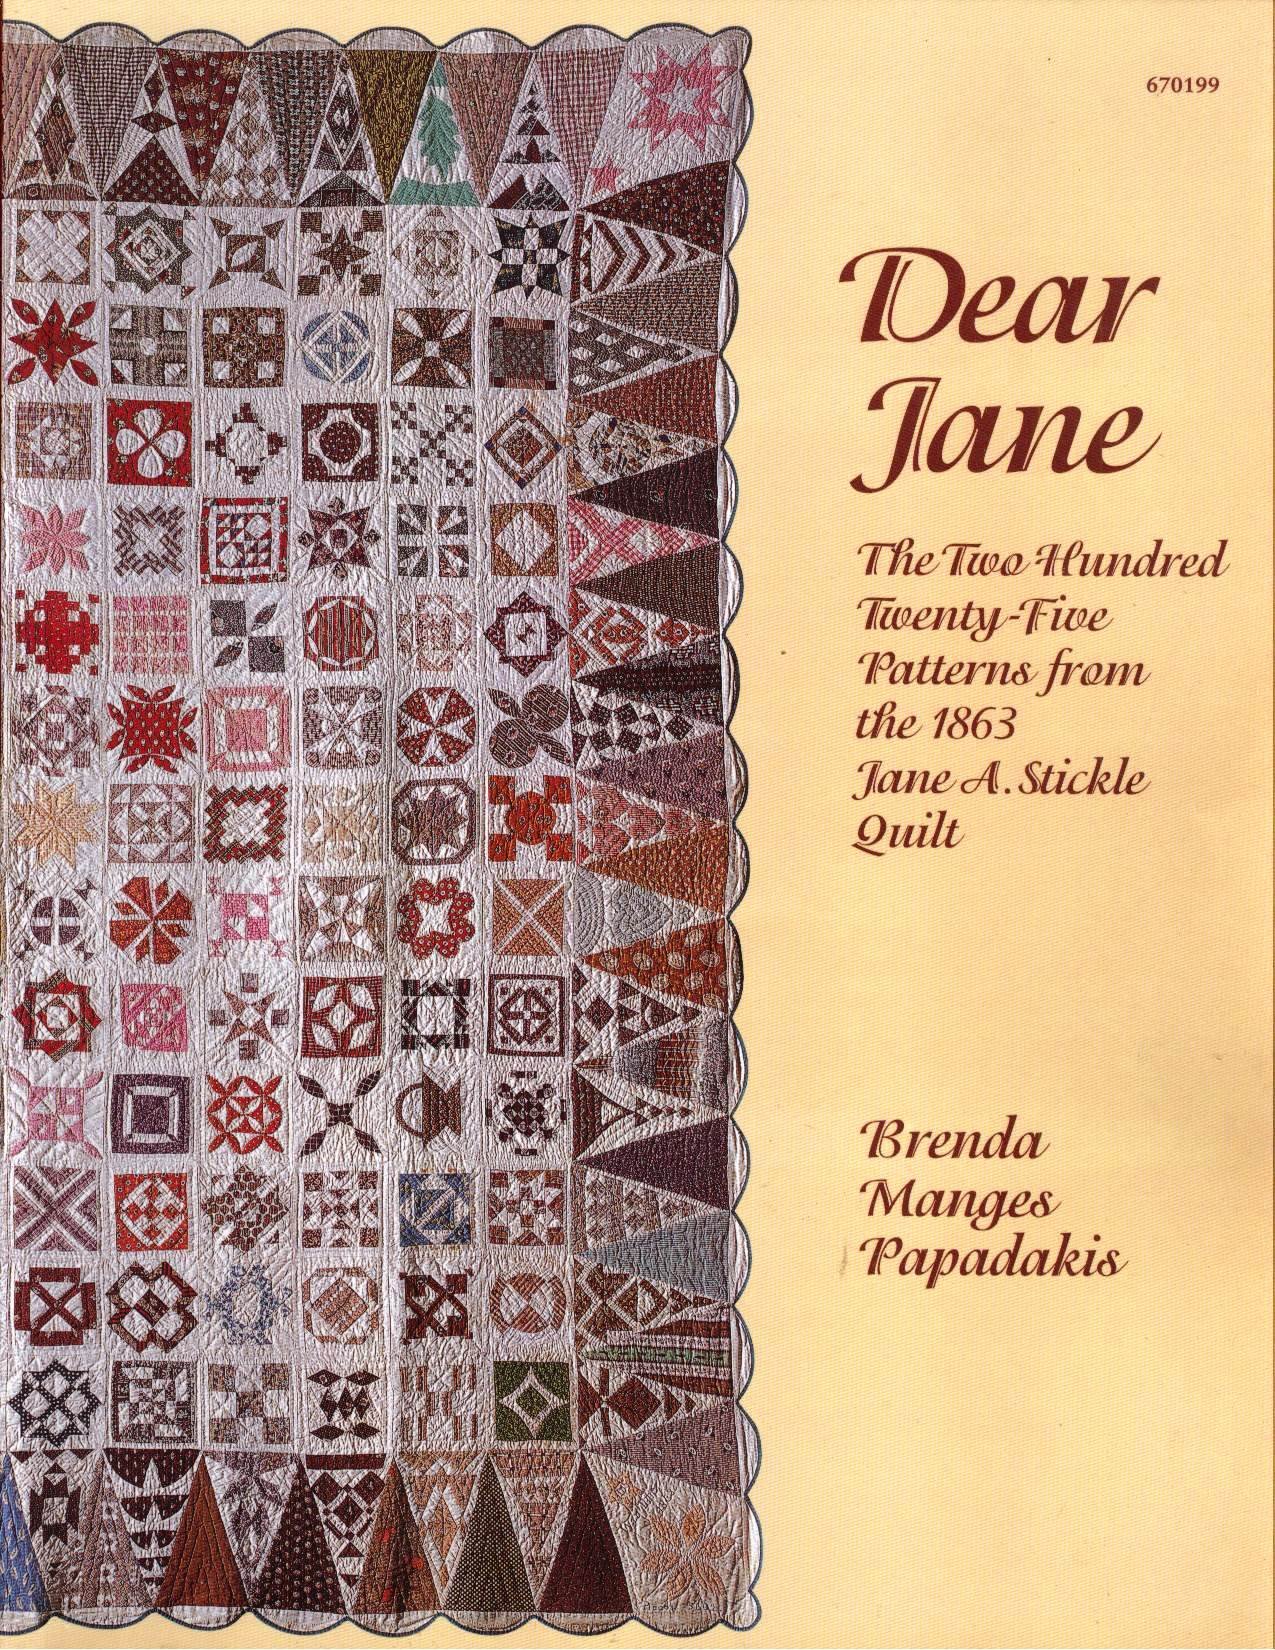
A Baby Jane quilt is based on the blocks from the original Dear Jane quilt, a quilt made by Jane A. Stickle in 1863. It consists of 225 individual patterns - each square and border triangle is different. 

dear jane
The original Dear Jane quilt

Now I cheated, I admit. I didn't do all the blocks in a proper Dear Jane, and I left all the triangular blocks blank. But I certainly did well over half of the square ones, and for a complete novice, I'm quite pleased with it myself, if I do say so. This was my second ever quilt and far more complicated than anything I'd ever attempted previously. It took eight months to complete start to finish. Good thing I didn't have a baby back then or no doubt it would have been a lot longer.


baby jane quilt
It will fit the bed it's intended for,
which is a King whereas this is only a standard double.
One day I hope to complete an entire Baby Jane quilt using all the patterns. If you want to know all these patterns, I would recommend the Dear Jane book by Brenda Manges Papadakis, which is what I used. It's well worth the money and you could use the patterns to make hundreds of different patchwork designs.


dear jane book

Friday, 22 July 2016

Miniature Egg and Soldiers Tutorial

If you enjoyed my miniature liquorice tutorial using polymer clay, hopefully you'll enjoy this one too. It's slightly more advanced, requiring more specialised supplies like chalk pastels and oil paint, but it's a fun, little project that yields realistic results for your doll house. As usual, these doll house miniature projects are not intended for young children!

1/12th Egg and Soldier Tutorial

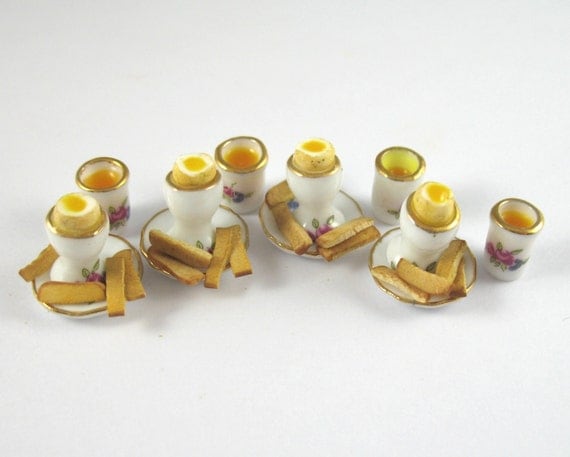
Here is the tutorial I made a while ago showing how to make 1/12th scale egg and soldiers.


You will need:
White polymer clay
Transparent polymer clay
Medium brown polymer clay
Liquid polymer clay
Chalk pastels in ochre tones
Sharp blade
Pin
Soft bristled brush
Ceramic tile to work on
Yellow/orange oil paint
Sandpaper
Ceramic 12th scale egg cup and saucer
Gloss varnish
Matt varnish
You may need superglue.

1.       Before you begin, you need to ensure your work area and hands are clean, because unbaked polymer clay is a fluff magnet. I like to work on a large, blank ceramic tile, as this can go straight in the oven when it is time to bake the clay, without having to move your work and risk unwanted fingerprints. It helps to use a white tile, as fluff shows up better on it.

2.       Let’s begin with the eggs. Condition some white clay by rolling it in your hands until it is easily malleable. Unconditioned clay can crumble, and make it harder to work with later on. Roll your white clay into a sausage about 0.5cm in diameter, and then cut into sections about 0.5cm long. Roll each section into an egg shape, by applying more pressure at one end than the other. Once you get the hang of it, it’s satisfyingly quick and easy! Don’t worry if there are little bits of fluff on your egg’s surface, the next step will cover up all but the largest imperfections.
3.       Using your blade, scrape a small amount of your chalk pastels to form dust. I use a mostly ochre and a little bit of reddish brown, but it really depends how light or dark you want your eggs to be. I wouldn’t recommend making it too light, or it will be difficult to see the contrast of the shell against egg white later on. Brush your egg gently with your soft bristled brush until you’re happy with its appearance. 

4.       Place your egg in the ceramic egg cup, as this will hold it in place and let you see how it’ll look in the end. With your blade (which you’ve carefully wiped clean of pastel dust of course), roughly cut off the top of your egg, so that the white is showing. It looks better if it is several small cuts rather than just one sweep, as egg shells never crack uniformly. Using your pin head, create a small dimple of a well in the eggwhite place, this is where your yolk will go.

5.       To make the egg yolk, pour a very small amount of liquid polymer clay on to your work tile. Next to it, mix up some yellow and orange oil paint until you get a yolk colour. This only needs to be literally a couple of drops’ worth. Mix this yolk coloured oil paint in with your liquid polymer clay, being careful not to add too much. If your liquid polymer clay covers a penny, you only need a ball bearing of paint to tint it.

6.       Using your pin, carefully add the yolk one drip at a time. You won’t need much! Put your egg to one side, it’s finished for now. 

7.       To make the toast, condition all your clay first, then mix 2/3 white polymer clay with 1/3 translucent polymer clay. Add the medium brown polymer clay a pinch at a time until you’re happy with the colour you’ve achieved. I always add the darkest colour only a little at a time, as you can’t take it out once it’s in and it nearly always changes the tone more than I imagined it would. The finished bread mix should look like untoasted bread.

8.       Using your fingers shape your bread mix into a long square sausage. It doesn’t matter how long it is, but the height and width should be approximately 1x1cm. The corners should remain rounded, so use your fingers, rather than a blade.


9.       Using your blade, scrape yet more of your chalk pastels to form dust, but this time it needs to be darker as this will give you your crust colour. I use dark brown and a little reddish brown. Apply with your soft bristled brush.


10.   Slice the bread using your clean blade into thin slices of no more than 1mm thick and lay all the slices flat. Don’t worry about the end slices, no-one likes the end slices!


11.   Lay all your slices flat. Now you need to add some texture and there are two ways of doing this. The easy way is to press sandpaper on the polymer clay. The long (but better) way is to use a pin to individually scratch out every single little piece of texture. I like to combine these techniques to get a good effect without losing my mind.

12.   Press a small piece of sandpaper on to each individual slice. Don’t press too hard or it will lose its shape, but you need to press hard enough that it leaves the texture behind.


13.   Then cut each slice into 4 strips to make soldiers. Using your pin, gently scratch and poke all the pale sides (not the crusts) of each soldier. Also use the pin on and sandpaper-textured parts which have been missed or look too uniform. This will take a while. 


14.   Create another pile of chalk pastel dust using your blade. This time it is to make your soldiers look toasted, so the colour depends on whether you like your soldiers hardly warmed or burnt to a crisp. I use ochre to dust the tops of the soldiers, then dark brown to highlight the edges and here and there. This dusting should really bring out the detail of the texture, so all that time spent prodding it with a pin will be worth it!

15.   Now bake all your eggs (still in the ceramic egg cups) and soldiers according to the polymer clay manufacturer’s instructions. Once done, allow to cool before handling, as the ceramic egg cups will hold on to their heat especially.

16.   To finish off the piece, add a dab of gloss varnish to the egg yolks so they really stand out. Use a thin coat of matt varnish for everything else. You shouldn’t be able to see it, but it helps to seal in all that chalk pastel dust and makes the piece more durable. Finally, you may need to glue the eggs into their egg cups, as polymer clay does not stick to shiny ceramic well. A small dab of superglue will do the job. I also used some of my leftover egg yolk mix to make orange juice as it’s the perfect colour for that. 

tutorial dollhouse miniature egg toast