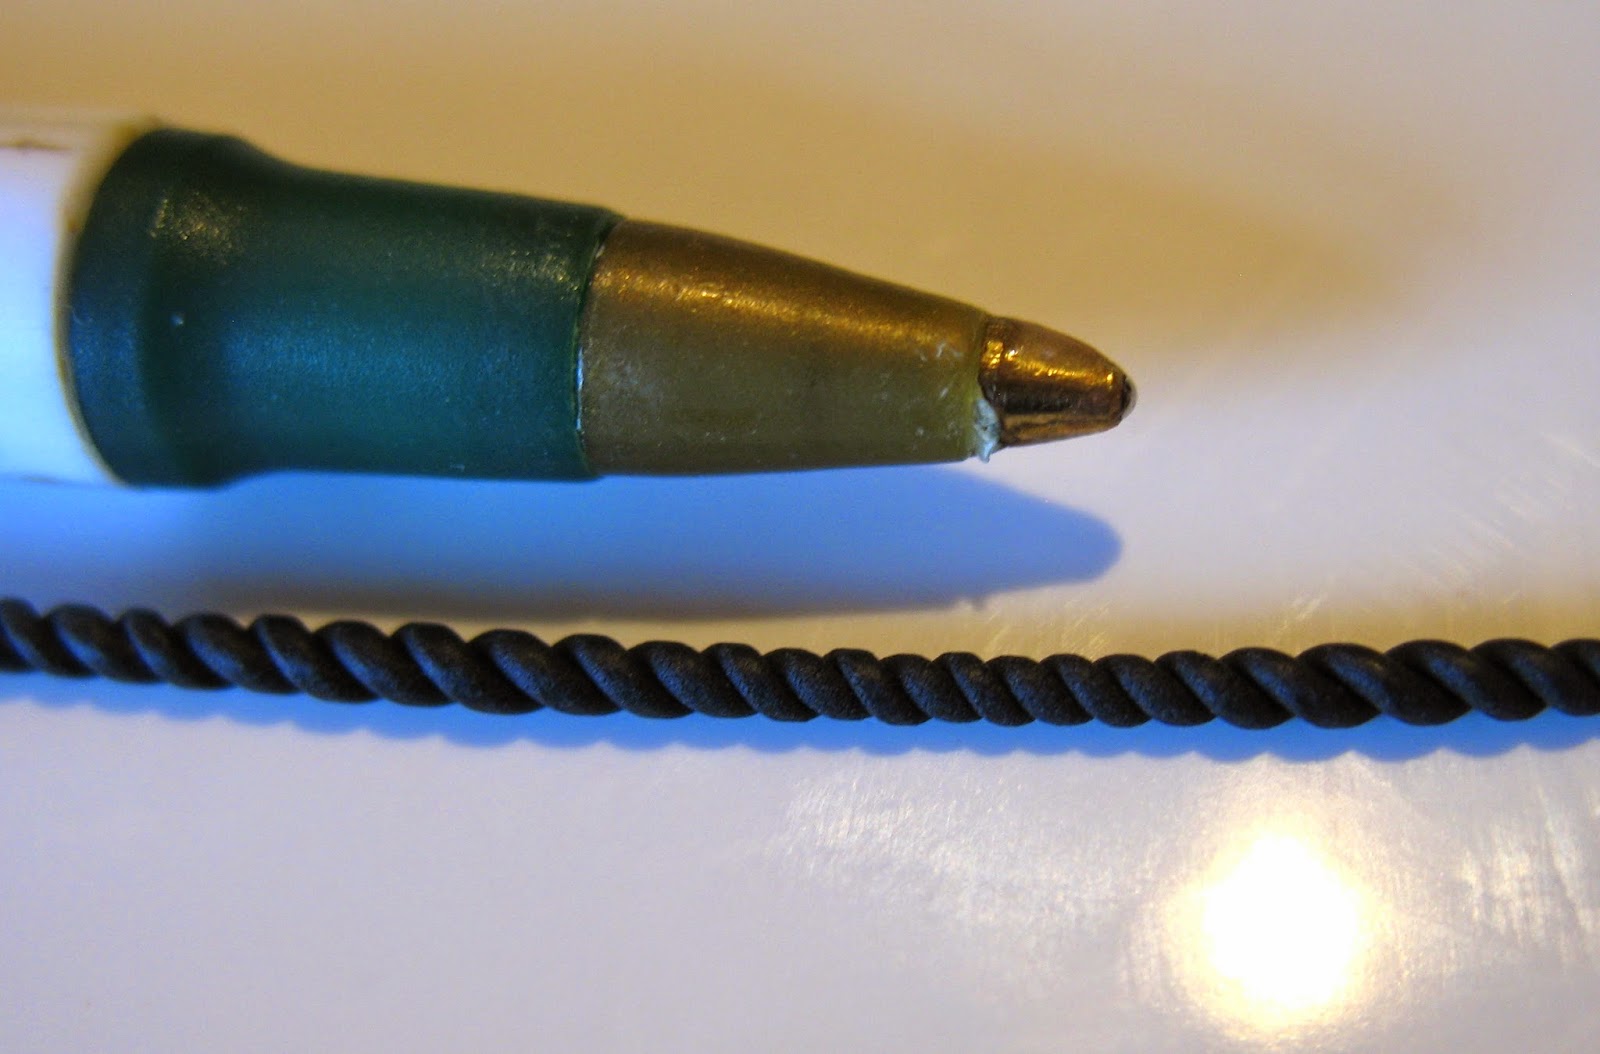
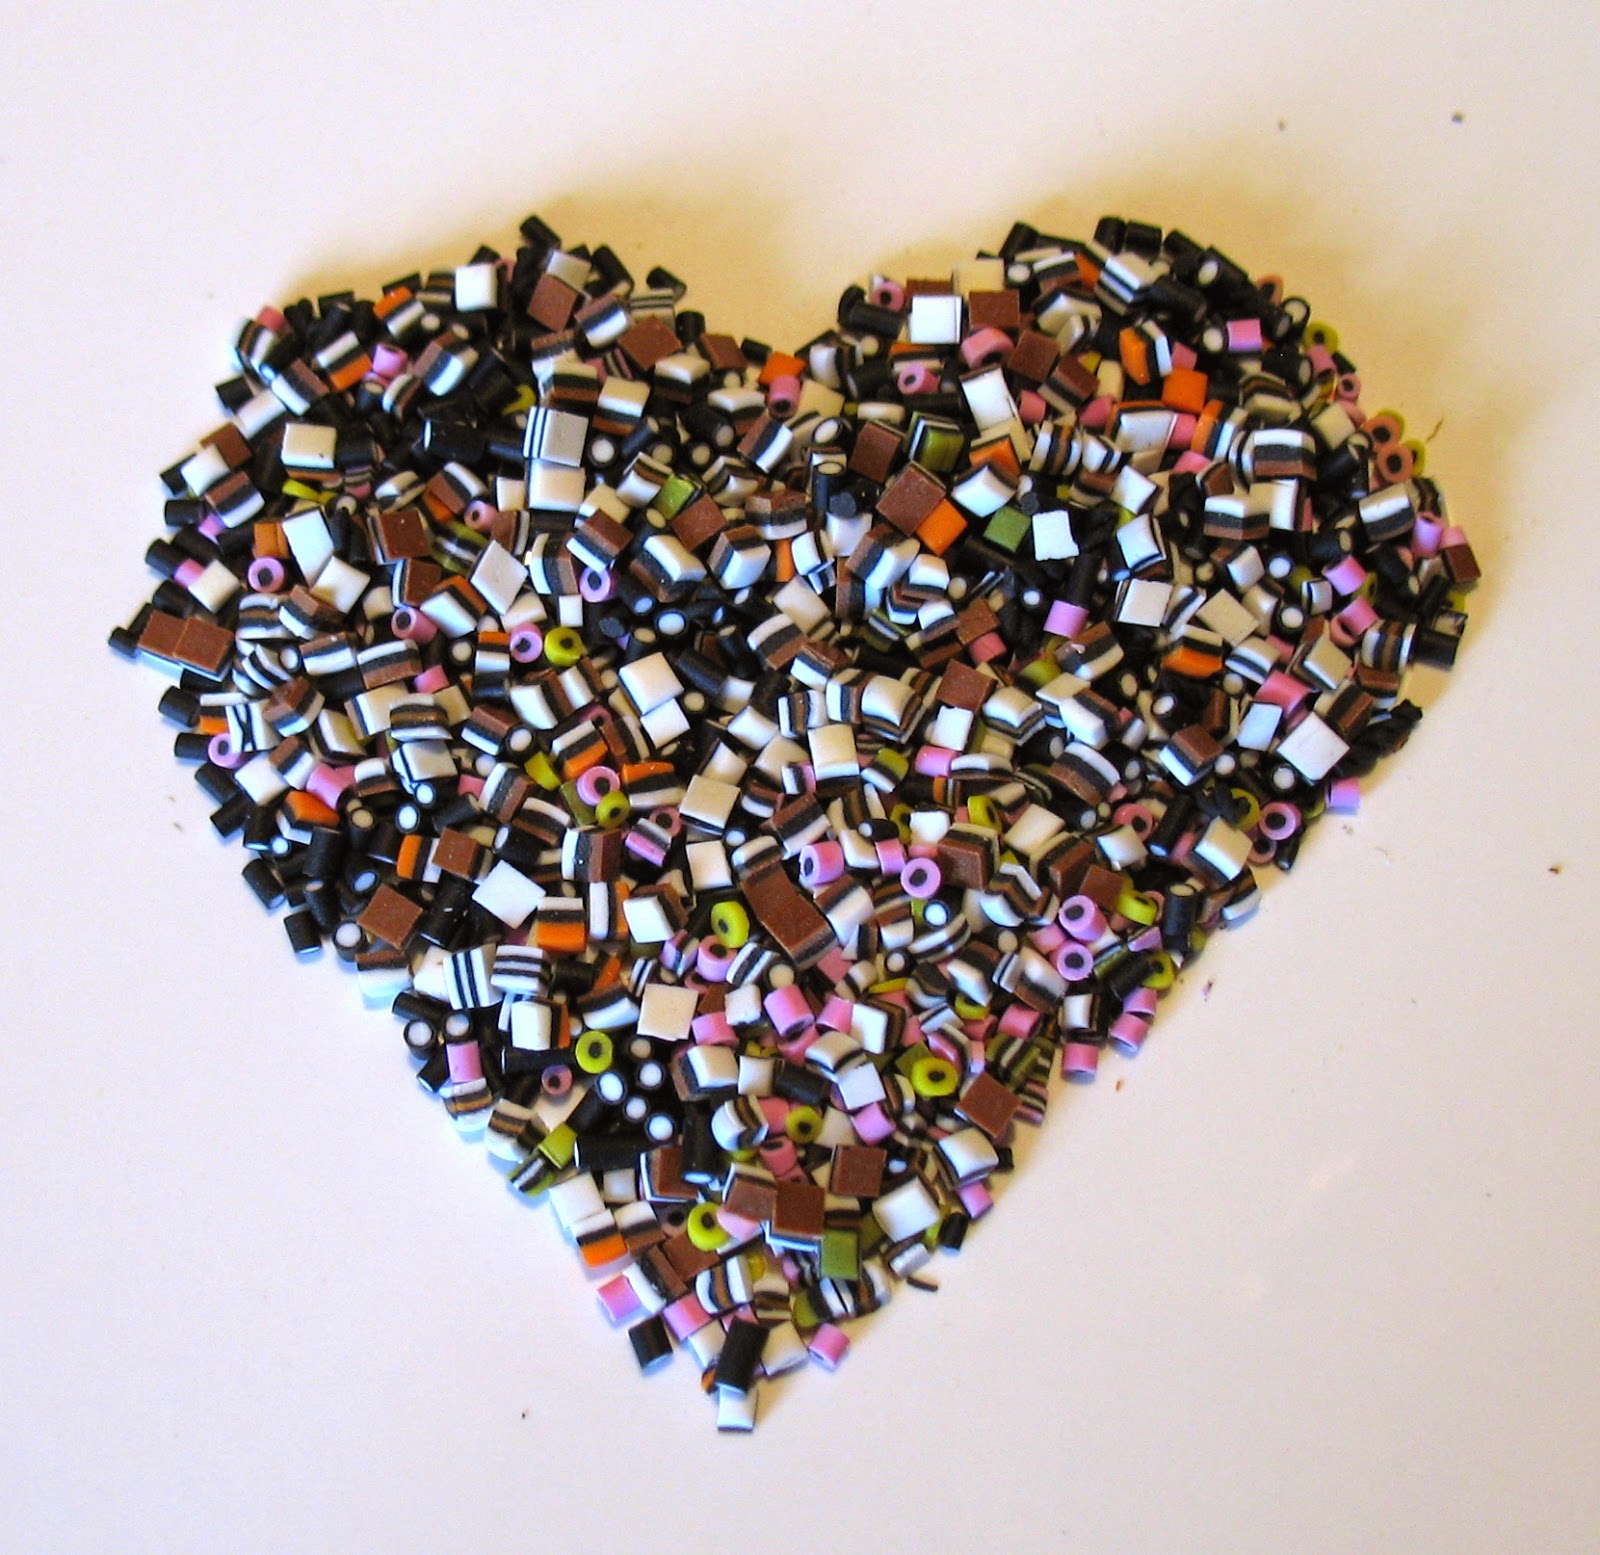
If you enjoyed my miniature liquorice tutorial using polymer clay, hopefully you'll enjoy this one too. It's slightly more advanced, requiring more specialised supplies like chalk pastels and oil paint, but it's a fun, little project that yields realistic results for your doll house. As usual, these doll house miniature projects are not intended for young children!
1/12th Egg and Soldier Tutorial
Here is the tutorial I made a while ago showing how to make 1/12th scale egg and soldiers.
 1. Before you begin, you need to ensure your work area and hands are clean, because unbaked polymer clay is a fluff magnet. I like to work on a large, blank ceramic tile, as this can go straight in the oven when it is time to bake the clay, without having to move your work and risk unwanted fingerprints. It helps to use a white tile, as fluff shows up better on it.
2.
 3.
3.
4. Place your egg in the ceramic egg cup, as this will hold it in place and let you see how it’ll look in the end. With your blade (which you’ve carefully wiped clean of pastel dust of course), roughly cut off the top of your egg, so that the white is showing. It looks better if it is several small cuts rather than just one sweep, as egg shells never crack uniformly. Using your pin head, create a small dimple of a well in the egg
 5. To make the egg yolk, pour a very small amount of liquid polymer clay on to your work tile. Next to it, mix up some yellow and orange oil paint until you get a yolk colour. This only needs to be literally a couple of drops’ worth. Mix this yolk coloured oil paint in with your liquid polymer clay, being careful not to add too much. If your liquid polymer clay covers a penny, you only need a ball bearing of paint to tint it.
6. Using your pin, carefully add the yolk one drip at a time. You won’t need much! Put your egg to one side, it’s finished for now.
 7.
7.
 8. Using your fingers shape your bread mix into a long square sausage. It doesn’t matter how long it is, but the height and width should be approximately 1x1cm. The corners should remain rounded, so use your fingers, rather than a blade.
9.

10. Slice the bread using your clean blade into thin slices of no more than 1mm thick and lay all the slices flat. Don’t worry about the end slices, no-one likes the end slices!
 11.
11.
12. Press a small piece of sandpaper on to each individual slice. Don’t press too hard or it will lose its shape, but you need to press hard enough that it leaves the texture behind.
 13. Then cut each slice into 4 strips to make soldiers. Using your pin, gently scratch and poke all the pale sides (not the crusts) of each soldier. Also use the pin on and sandpaper-textured parts which have been missed or look too uniform. This will take a while.
 14.
14.
15. Now bake all your eggs (still in the ceramic egg cups) and soldiers according to the polymer clay manufacturer’s instructions. Once done, allow to cool before handling, as the ceramic egg cups will hold on to their heat especially.
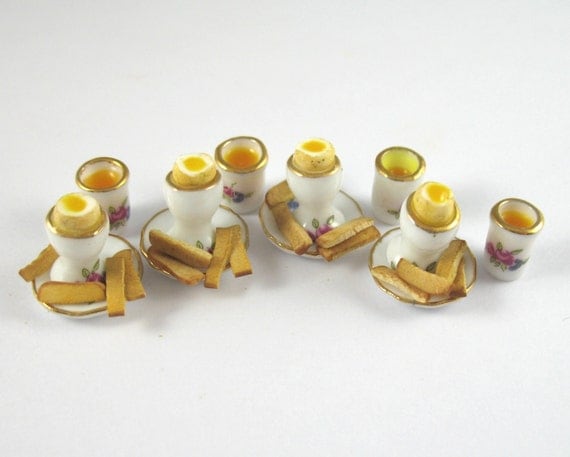
16. To finish off the piece, add a dab of gloss varnish to the egg yolks so they really stand out. Use a thin coat of matt varnish for everything else. You shouldn’t be able to see it, but it helps to seal in all that chalk pastel dust and makes the piece more durable. Finally, you may need to glue the eggs into their egg cups, as polymer clay does not stick to shiny ceramic well. A small dab of superglue will do the job. I also used some of my leftover egg yolk mix to make orange juice as it’s the perfect colour for that.

White polymer clay
Transparent polymer clay
Medium brown polymer clay
Liquid polymer clay
Chalk pastels in ochre tones
Sharp blade
Pin
Soft bristled brush
Ceramic tile to work on
Yellow/orange oil paint
Sandpaper
Ceramic 12th scale egg cup and saucer
Gloss varnish
Matt varnish
You may need superglue.
|
 1. Before you begin, you need to ensure your work area and hands are clean, because unbaked polymer clay is a fluff magnet. I like to work on a large, blank ceramic tile, as this can go straight in the oven when it is time to bake the clay, without having to move your work and risk unwanted fingerprints. It helps to use a white tile, as fluff shows up better on it.
2.
3. 4. Place your egg in the ceramic egg cup, as this will hold it in place and let you see how it’ll look in the end. With your blade (which you’ve carefully wiped clean of pastel dust of course), roughly cut off the top of your egg, so that the white is showing. It looks better if it is several small cuts rather than just one sweep, as egg shells never crack uniformly. Using your pin head, create a small dimple of a well in the egg
 5. To make the egg yolk, pour a very small amount of liquid polymer clay on to your work tile. Next to it, mix up some yellow and orange oil paint until you get a yolk colour. This only needs to be literally a couple of drops’ worth. Mix this yolk coloured oil paint in with your liquid polymer clay, being careful not to add too much. If your liquid polymer clay covers a penny, you only need a ball bearing of paint to tint it.
6. Using your pin, carefully add the yolk one drip at a time. You won’t need much! Put your egg to one side, it’s finished for now.
 7.
7.  8. Using your fingers shape your bread mix into a long square sausage. It doesn’t matter how long it is, but the height and width should be approximately 1x1cm. The corners should remain rounded, so use your fingers, rather than a blade.
9.

10. Slice the bread using your clean blade into thin slices of no more than 1mm thick and lay all the slices flat. Don’t worry about the end slices, no-one likes the end slices!
 11.
11. 12. Press a small piece of sandpaper on to each individual slice. Don’t press too hard or it will lose its shape, but you need to press hard enough that it leaves the texture behind.
 13. Then cut each slice into 4 strips to make soldiers. Using your pin, gently scratch and poke all the pale sides (not the crusts) of each soldier. Also use the pin on and sandpaper-textured parts which have been missed or look too uniform. This will take a while.
 14.
14. 15. Now bake all your eggs (still in the ceramic egg cups) and soldiers according to the polymer clay manufacturer’s instructions. Once done, allow to cool before handling, as the ceramic egg cups will hold on to their heat especially.
16. To finish off the piece, add a dab of gloss varnish to the egg yolks so they really stand out. Use a thin coat of matt varnish for everything else. You shouldn’t be able to see it, but it helps to seal in all that chalk pastel dust and makes the piece more durable. Finally, you may need to glue the eggs into their egg cups, as polymer clay does not stick to shiny ceramic well. A small dab of superglue will do the job. I also used some of my leftover egg yolk mix to make orange juice as it’s the perfect colour for that.